**What to Do If Water Heater Insulation Gets Wet:** Remove the wet insulation immediately and let the area dry completely. Replace with new, dry insulation to prevent mold and inefficiency.
**** Water heater insulation is crucial for maintaining energy efficiency and preventing heat loss. Wet insulation can lead to various issues, including mold growth and decreased performance. It’s essential to address wet insulation promptly to avoid long-term damage. By taking quick action, you can ensure your water heater operates efficiently and safely.
Proper insulation not only conserves energy but also extends the lifespan of your water heater. This guide will help you understand the steps to take when your water heater insulation gets wet, ensuring optimal performance and safety.

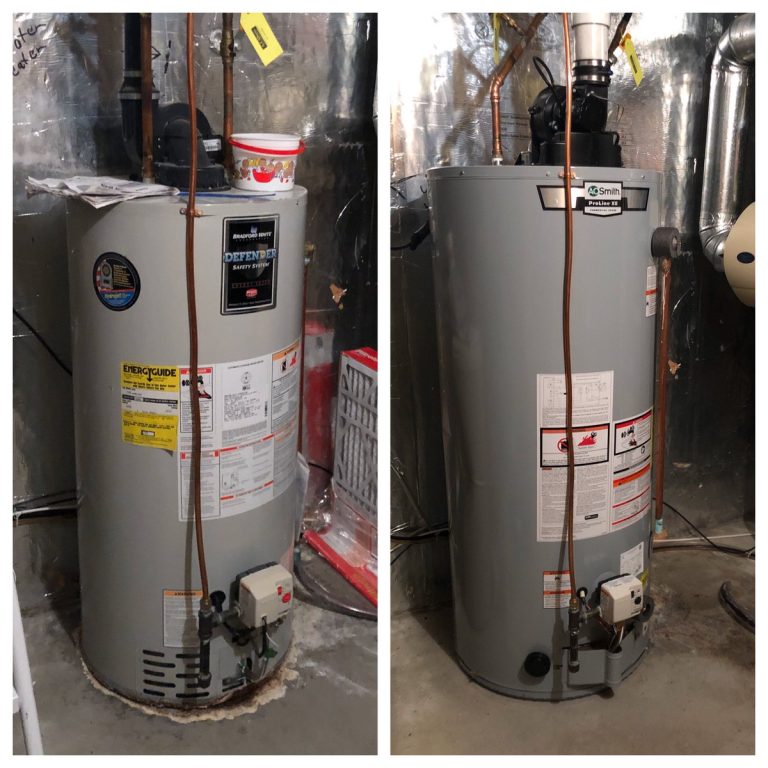
Credit: waterheatertimer.org
Identifying Wet Insulation
Wet insulation can cause many problems. Water stains on the heater are a big sign. You may also notice a musty smell. The heater might not work well. Higher energy bills can also be a clue. Wet insulation makes it hard for the heater to keep water hot.
First, turn off the power to the heater. This will keep you safe. Next, check for leaks. Fix any leaks you find. Remove the wet insulation carefully. Dry the area with a fan. Use a dehumidifier if you have one. Replace the old insulation with new, dry material. Keep the area dry to avoid future problems.
Safety Precautions
Turn off the power supply to the water heater. This prevents any electrical hazards. Electric water heaters should be switched off at the circuit breaker. For gas water heaters, turn the gas valve to the off position. Always ensure the heater is completely off before proceeding.
Shut off the water supply to prevent further water damage. Locate the main water valve near the heater. Turn the valve clockwise until it stops. This stops water from flowing into the heater. Check for any leaks after turning off the water.
Assessing The Damage
First, turn off the water heater. It is important to stay safe. Next, check the insulation for any visible damage. Look for any signs of wet spots or discoloration. These can indicate where the water has soaked in. Use a flashlight to see better in dark areas. Feel the insulation with your hands. If it feels damp or soggy, it needs attention. Make sure to inspect all sides, including the back. Pay extra attention to the bottom part. Water often collects there.
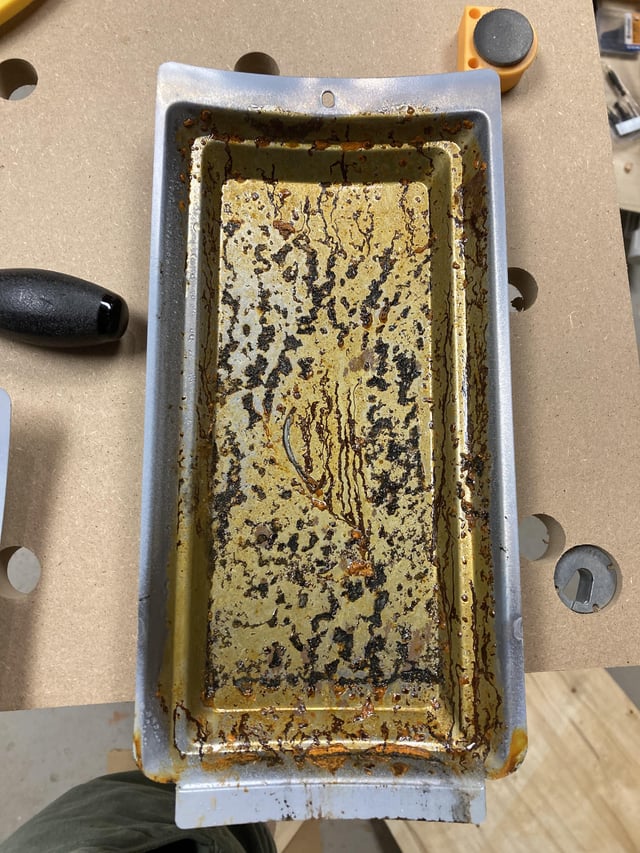
Find any black spots or green patches on the insulation. These could be mold or mildew. Mold can be harmful to health. Use a mask and gloves while checking. Smell the insulation for a musty odor. This could also indicate mold growth. If you find any mold, clean it immediately. Use a mixture of water and vinegar. Spray the solution on the mold and wipe it off. Make sure to dry the area completely after cleaning. This will help prevent mold from coming back.
Removing Wet Insulation
Gather some rubber gloves, a dust mask, and protective eyewear. You also need a utility knife and trash bags. A shop vacuum helps to clean up debris. Make sure to have a fan to dry the area. Always keep a flashlight handy.
First, turn off the power to the water heater. Carefully cut away the wet insulation with a utility knife. Place the wet insulation in trash bags. Use a shop vacuum to remove any small debris. Set up a fan to dry the area. Make sure the area is completely dry before replacing insulation.
Drying The Area
Fans help to dry the wet area quickly. Place fans around the heater. Dehumidifiers remove moisture from the air. They prevent mold growth. Use both for faster drying. Make sure to check the progress. Keep the room ventilated. This helps the drying process.
Open windows and doors. Fresh air helps dry the area. Sunlight is also effective. Sunlight kills mold spores. Move the heater to a sunny spot if possible. Ensure good airflow. This speeds up drying.
Replacing Insulation
Choosing the right new insulation is important. Fiberglass and foam board are good options. Fiberglass is affordable and easy to install. Foam board offers better thermal resistance. Both types can keep your water heater efficient. Always check the R-value of the insulation. Higher R-value means better insulation.
Choosing New Insulation
Make sure the insulation fits your heater. Measure the diameter and height of your water heater. Buy enough material to cover the whole tank. Look for insulation that is fire-resistant. This keeps your home safe. Choose a material that is moisture-resistant. This prevents future damage.
Installation Tips
Turn off the power to the water heater. Drain the tank to prevent leaks. Wrap the new insulation around the tank. Use tape or straps to secure it. Make sure it fits snugly. Avoid covering the top of the tank. Leave space for ventilation. This helps the heater work efficiently. Turn the power back on when done.
Preventive Measures
Check your water heater monthly. Look for any leaks or damp areas. Always keep the area around the heater clean and dry. Inspect the pipes and valves for any signs of rust or corrosion. Replace any worn-out parts right away. Always have a professional inspect your heater yearly.
Install a waterproof cover over the heater. Use sealant around any joints or seams. Make sure the drain pan is always empty. Keep the heater in a dry place. Use a dehumidifier if needed. Check the roof and walls for leaks. Repair any cracks or holes immediately.

Credit: waterheatertimer.org
When To Call A Professional
If the insulation is sagging, it is a bad sign. Rust on the tank is another severe damage indicator. Water pooling around the heater means serious trouble. A musty smell can indicate mold growth. Hearing strange noises from the heater is not normal. These signs mean you should call a professional.
Professionals can quickly identify the problem. They have the right tools for the job. Proper repair prevents further damage. Experts can ensure safe operation of the heater. They can also provide tips to avoid future issues. Calling a professional saves time and effort.
Credit: www.reddit.com
Frequently Asked Questions
What Happens If Water Heater Insulation Gets Wet?
Wet insulation can reduce the efficiency of your water heater. It can cause energy loss and potentially lead to mold growth.
How Do I Dry Wet Water Heater Insulation?
Turn off the heater and remove the wet insulation. Allow it to dry completely before replacing it.
Can Wet Insulation Damage My Water Heater?
Yes, wet insulation can lead to rust and corrosion in your water heater, shortening its lifespan.
Is Mold A Concern With Wet Water Heater Insulation?
Yes, wet insulation can promote mold growth, which can affect air quality and health.
Conclusion
Addressing wet water heater insulation is crucial for efficiency and safety. Promptly dry and inspect the insulation. Replace it if necessary. Regular maintenance can prevent such issues. Keeping your water heater in top condition ensures a longer lifespan and better performance.
Follow these steps to protect your investment and maintain home comfort.