Installing a Vissani range hood involves securing it to the wall and connecting the ductwork. Follow the manufacturer’s guidelines for electrical and ventilation requirements.
A Vissani range hood enhances kitchen aesthetics while improving air quality. Proper installation is crucial for optimal performance and safety. This appliance effectively removes smoke, odors, and grease, creating a healthier cooking environment. Homeowners often appreciate its sleek design that complements modern kitchens.
Understanding the installation process can prevent common mistakes and ensure longevity. This guide will walk you through the essential steps for a seamless setup. Whether you’re a DIY enthusiast or hiring a professional, knowing what to expect simplifies the task. With the right tools and preparation, you can enjoy the benefits of your Vissani range hood in no time.
Introduction To Vissani Range Hoods
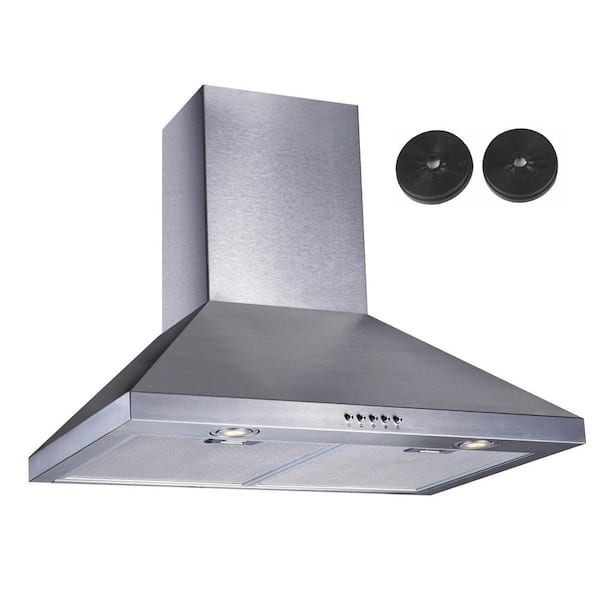
Vissani range hoods offer excellent performance and stylish designs. Many homeowners prefer them for their high-quality materials and durability. These hoods effectively remove smoke and odors from the kitchen.
Choosing a Vissani range hood ensures quiet operation and easy maintenance. Models come in various sizes and styles. Whether you need a wall-mounted or island style, Vissani has options.
| Model | Features |
|---|---|
| Vissani 30” Wall Mount | Stainless steel, 400 CFM, LED lights |
| Vissani 36” Island | Powerful suction, modern design, easy to clean |
| Vissani 30” Under Cabinet | Compact size, adjustable fan speeds, quiet operation |
Pre-installation Preparation
Before installing your Vissani Range Hood, gather all the necessary tools and materials. A drill, screwdriver, level, and measuring tape are essential. You will also need screws, ducting, and wire connectors. Make sure to have a step ladder on hand.
Measuring the space is crucial for proper installation. Check the height and width of your kitchen area. Ensure there is enough room above the cooking surface. This helps the hood work effectively. Use the measuring tape to mark the installation points clearly.
| Tool/Material | Purpose |
|---|---|
| Drill | To create holes for screws |
| Screwdriver | To tighten screws |
| Level | To ensure the hood is straight |
| Measuring Tape | For accurate measurements |
Safety First
Understanding electrical safety is crucial for any installation. Always turn off the power supply before starting. This prevents electrical shocks and accidents. Use tools that are in good condition. Damaged tools can lead to injuries.
Wearing personal protective equipment (PPE) is essential. Use safety goggles to protect your eyes. Gloves can keep your hands safe from sharp objects. Non-slip shoes can help you avoid falls. A hard hat protects your head from falling items.
Check local building codes before starting. Following these codes ensures safety and compliance. Always have a first aid kit nearby for emergencies. Stay aware of your surroundings while working.
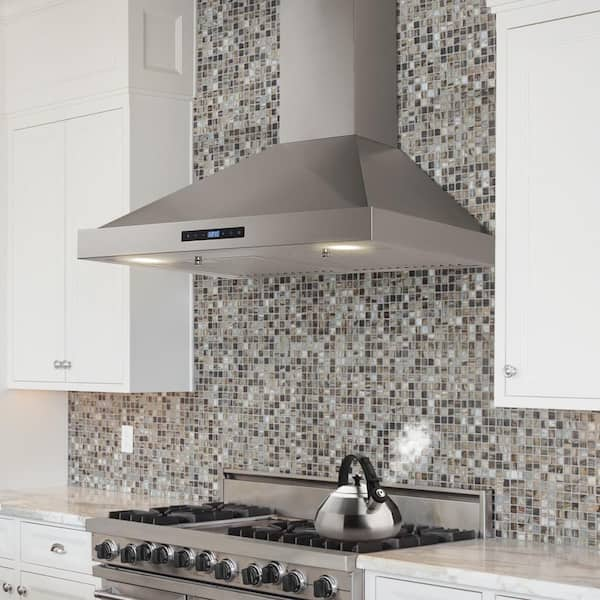
Credit: www.homedepot.com
Removing The Old Range Hood
Start by turning off the power to the old range hood. This ensures safety during removal. Locate the circuit breaker and switch it off.
Next, disconnect the power supply. Check for any wires connected to the hood. Carefully untwist and remove these wires.
After that, dismantle the old range hood. Remove any screws or fasteners holding it in place. Gently pull the hood away from the wall.
Make sure to dispose of the old unit properly. Check local regulations for disposal guidelines. Keep your workspace clean and safe.
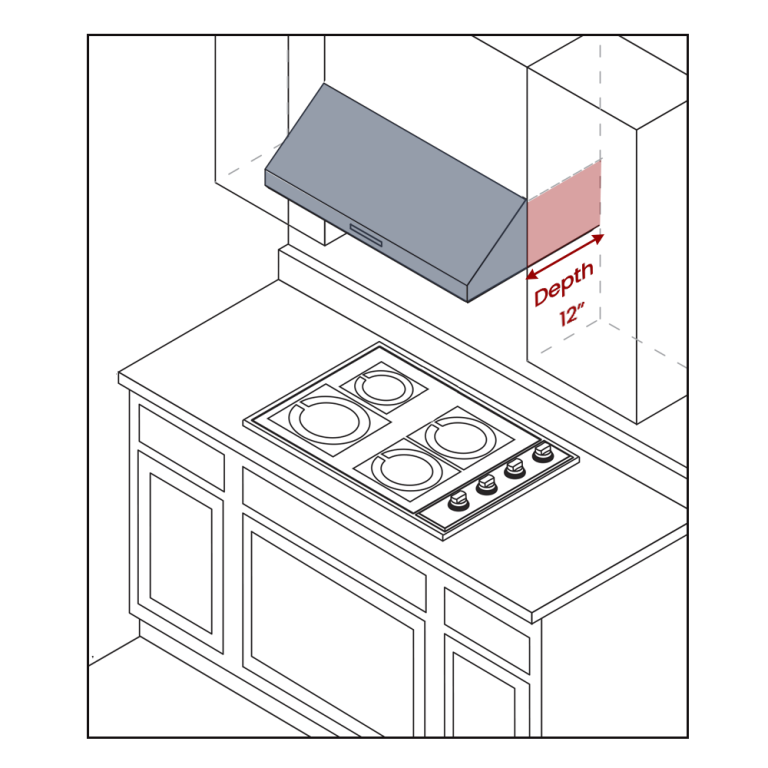
Mounting The Vissani Range Hood
Positioning the Vissani range hood is crucial for effective ventilation. Start by measuring the space above your cooktop. The ideal height is usually between 28 to 36 inches. Ensure the hood is centered above the cooktop for maximum efficiency.
Securing the hood to the wall or cabinet requires proper tools. Use a level to ensure the hood is straight. Drill holes in the marked spots and insert wall anchors if needed. Carefully lift the hood into position and secure it with screws. Double-check the stability to avoid any issues.
Credit: www.homedepot.com
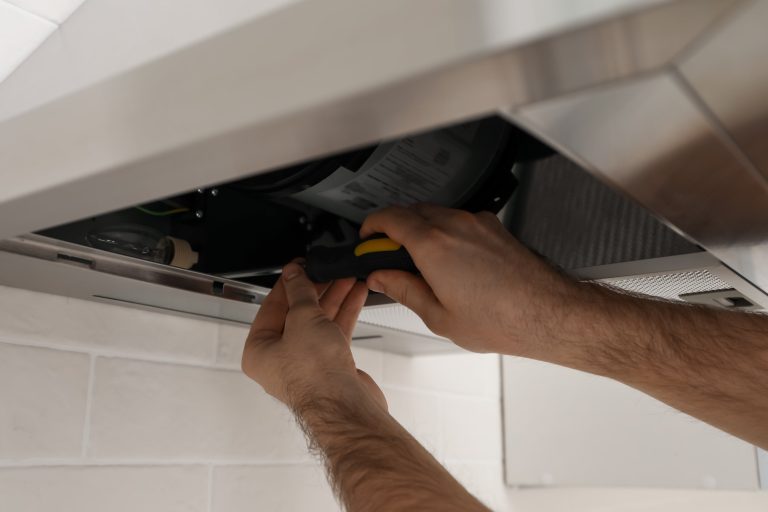
Electrical Connections
Wiring your Vissani hood requires careful attention. First, ensure the power is off. Connect the black wire to the black wire from the hood. Next, connect the white wire to the white wire. Secure all connections with wire nuts.
After wiring, turn the power back on. Check if the light and fan work properly. If they do not function, double-check all connections. Make sure there are no exposed wires. This ensures safety and efficiency.
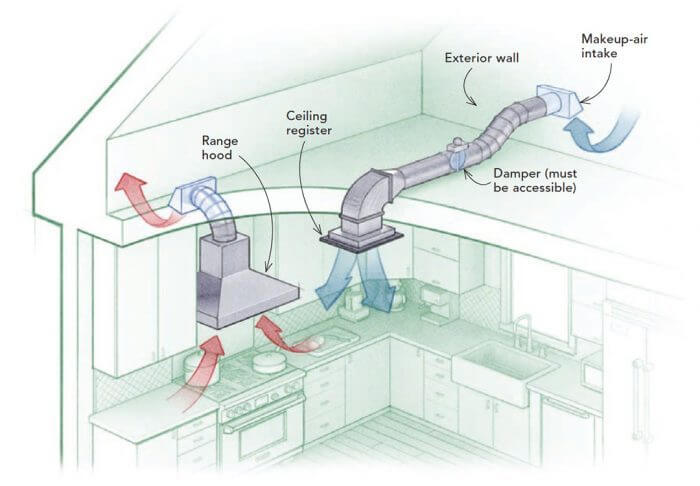
Ductwork And Ventilation
Properly aligning the ductwork is vital for an efficient Vissani range hood. Ensure all connections are tight and secure. Check for any leaks that may impact performance.
Ventilation plays a key role in maintaining good air quality. An effective system removes smoke, odors, and heat quickly. This ensures a comfortable cooking environment.
| Tip | Description |
|---|---|
| Check Compatibility | Ensure the duct size matches the hood’s specifications. |
| Maintain Clearance | Leave enough space between the hood and the duct. |
| Seal Joints | Use duct tape or clamps to seal any joints securely. |
| Regular Maintenance | Inspect and clean the ductwork periodically to avoid clogs. |
Finishing Touches
Start by installing the filters and accessories in your Vissani range hood. Ensure the filters fit snugly. This helps keep the air clean.
Next, check the light bulbs. They should be bright and clear. Replace any dim bulbs for better visibility while cooking.
For the final aesthetics, wipe down the hood. Use a soft cloth with a gentle cleaner. This removes fingerprints and dust.
Lastly, check all screws and fittings. Tighten any loose parts. A secure installation ensures safety and efficiency.
Complete your kitchen look with a neat and tidy space. Clean up any debris from the installation process.
Maintenance And Care
Keep your Vissani range hood clean for best performance. Regular cleaning helps remove grease and dirt. Use a soft cloth and mild detergent. Avoid harsh chemicals that can damage the surface.
Clean the filters monthly. Remove them and soak in warm, soapy water. Rinse well and let them dry completely before reinstalling.
For troubleshooting, check if the hood is plugged in. If it won’t turn on, inspect the circuit breaker. A blocked filter can cause poor airflow. Clean or replace it as needed.
Strange noises may indicate a loose part. Tighten screws and check for any obstructions. If problems persist, consult the manual for further assistance.

Credit: www.youtube.com
Frequently Asked Questions
How Do I Install A Vissani Range Hood?
To install a Vissani range hood, begin by gathering your tools. Mount the hood according to the manufacturer’s instructions. Ensure proper ductwork is in place for ventilation. Connect the wiring carefully, and finally, secure the hood firmly. Always follow safety guidelines during installation.
What Tools Do I Need For Installation?
Essential tools for installing a Vissani range hood include a drill, screwdriver, measuring tape, and level. You may also need a stud finder and wire connectors. Having these tools ready will streamline the installation process and ensure a professional finish.
Is Professional Installation Recommended?
While some homeowners can install a Vissani range hood themselves, professional installation is often recommended. Experts ensure proper placement and ventilation. They can also handle electrical connections safely. This can prevent potential issues and ensure optimal performance of your range hood.
How Long Does Installation Take?
Installing a Vissani range hood usually takes about 2 to 4 hours. The time can vary based on your experience level and the complexity of the installation. Proper preparation and having the right tools can help speed up the process significantly.
Conclusion
Installing a Vissani range hood enhances your kitchen’s functionality and style. With proper planning and execution, the process becomes straightforward. Remember to follow the manufacturer’s guidelines for best results. Enjoy cleaner air and a more inviting cooking environment. A well-installed range hood is a worthwhile investment for any home chef.