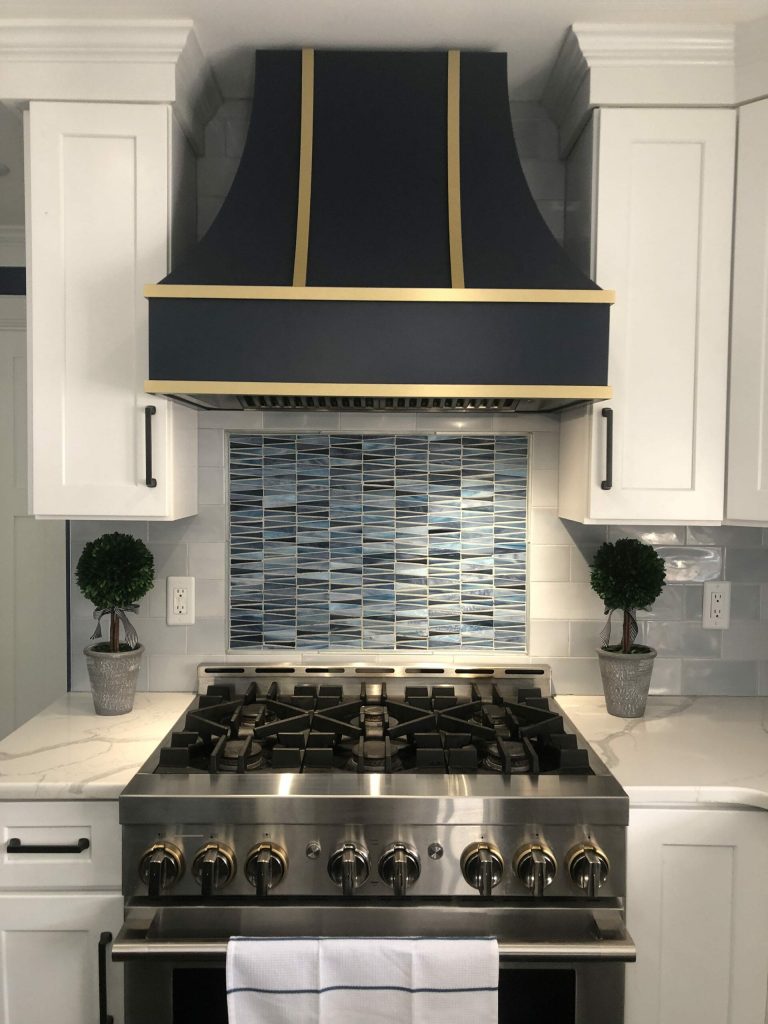
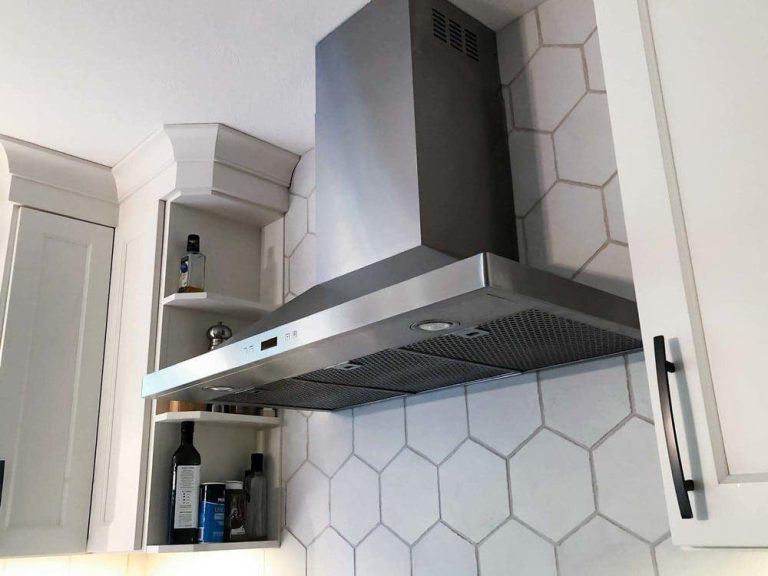
To replace an under-cabinet range hood with a wall mount, first, disconnect the power and ductwork. Then, remove the old hood and install the new wall-mounted model.
A kitchen upgrade often involves changing the range hood for better performance and aesthetics. Wall-mounted range hoods offer improved ventilation and can enhance your kitchen’s look. They come in various styles and finishes, providing flexibility in design. Transitioning from an under-cabinet unit to a wall-mounted option can free up valuable counter space and create a more open feel.
This switch not only boosts functionality but also adds a modern touch to your cooking area. Proper installation is crucial for efficiency, ensuring that your new hood effectively removes smoke and odors from your kitchen.
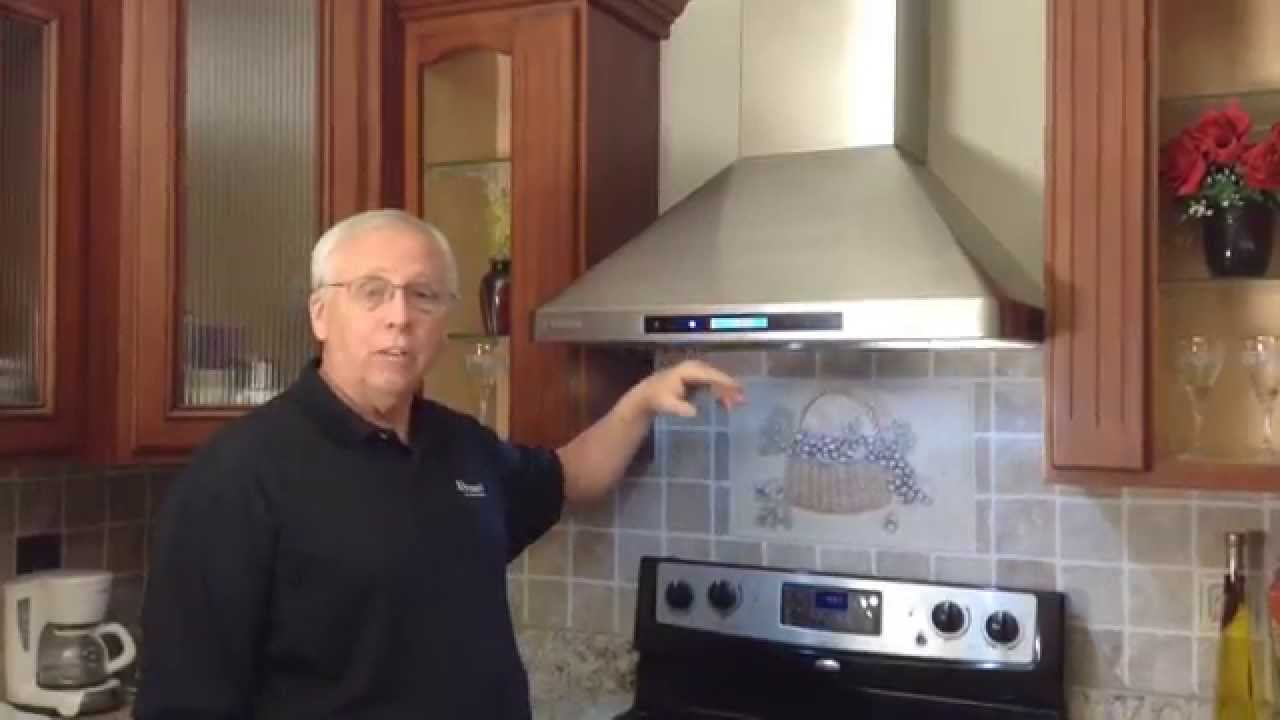
Credit: www.samsung.com
Introduction To Range Hood Replacement
Replacing an under cabinet range hood with a wall mount model can be beneficial. A well-ventilated kitchen helps remove smoke and odors. This improves air quality and makes cooking more enjoyable. Proper ventilation is key for a healthy home.
There are different types of range hoods available:
| Type | Description |
|---|---|
| Wall Mount | Installed on the wall, ideal for open kitchens. |
| Under Cabinet | Fits under kitchen cabinets, saving space. |
| Island | Hangs from the ceiling, perfect for island cooktops. |
| Downdraft | Retracts when not in use, great for minimalist spaces. |
Assessing Your Current Setup
Assess your existing under cabinet range hood carefully. Check its size and power. Note the ventilation type it uses. Understand the space available for a wall mount. Consider the style and design of your kitchen.
When thinking about a wall mount upgrade, focus on the style and efficiency of the new hood. A wall mount can add a modern touch to your kitchen. Ensure it fits well with your cooking habits. Choose a model with better airflow for improved smoke and odor removal.
| Considerations | Details |
|---|---|
| Size | Must fit your cooking area. |
| Power | Look for high CFM ratings. |
| Style | Choose a design that matches your kitchen. |
| Installation | Check if professional help is needed. |
Tools And Materials Needed
To replace an under cabinet range hood with a wall mount, gather these tools:
- Drill – For making holes in the wall.
- Screwdriver – To tighten screws.
- Stud finder – To locate wall studs.
- Level – Ensures the hood is straight.
- Tape measure – For accurate measurements.
- Pencil – To mark positions on the wall.
Safety is important. Use these safety gear:
- Safety goggles – Protects eyes from debris.
- Gloves – Shields hands from sharp edges.
- Dust mask – Keeps dust out of your lungs.
Preparing For Installation
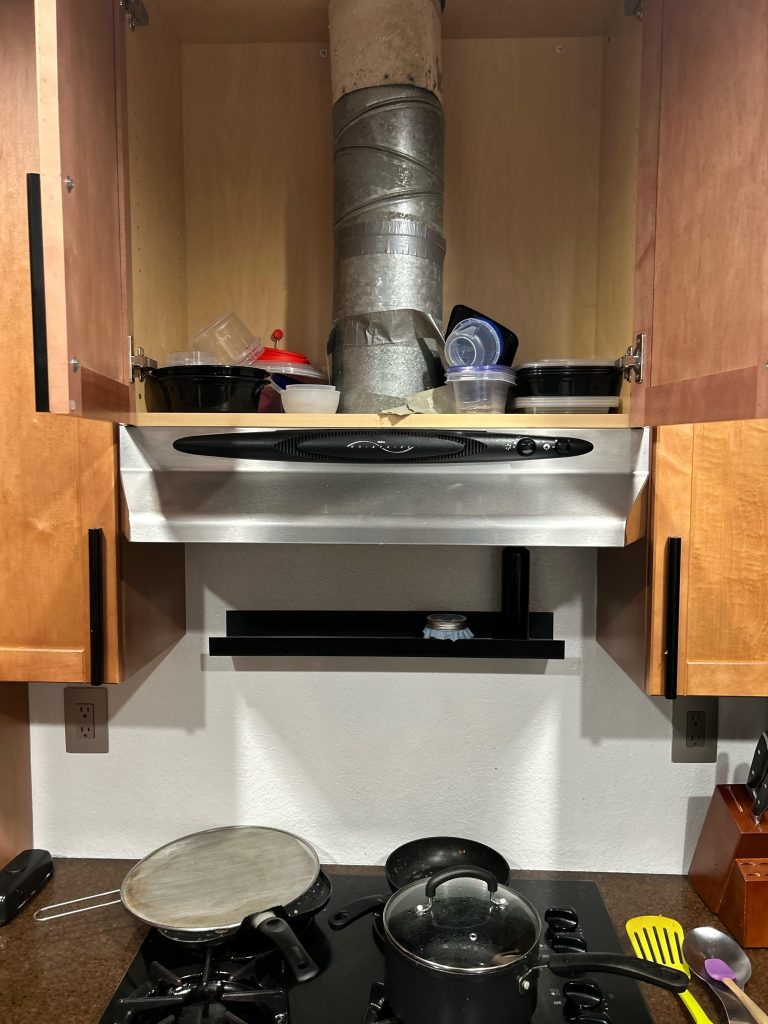
Start by turning off power to the old range hood. Remove any screws or clips holding it in place. Carefully pull the hood away from the wall. Disconnect the venting duct and electrical wires. Make sure to safely store all hardware for later use.
Next, inspect the wall for any damage. Fill holes and cracks with spackle or putty. Sand the area smooth once dry. Clean the wall with a damp cloth to remove dust. Mark the mounting points for the new hood based on the manufacturer’s instructions.
Use a level to ensure accuracy. Drill holes at the marked points. Insert wall anchors if needed. These steps will help prepare the wall for a sturdy and safe installation.
Mounting The Wall Range Hood
Mounting a wall range hood is simple. Follow these easy steps for a smooth installation.
First, gather your tools. You will need a drill, screws, and a level. Make sure to have a stud finder for best results.
Next, choose the right height for your hood. It should be about 30 inches above the cooktop. Use the level to mark your installation points.
Secure the hood to the wall with screws. Ensure it is firmly attached. Test the strength by gently pulling on it.
Connect the ductwork carefully. Make sure there are no leaks. Seal any gaps with duct tape for better performance.
Finally, plug in the hood and test it. Ensure the lights and fan work properly. Enjoy your new wall mount range hood!
Ductwork And Ventilation
Connecting to existing ductwork is essential for your new wall mount range hood. Check if the duct size matches your new unit. Proper alignment will ensure effective ventilation. If the ductwork is old, consider replacing it for better performance.
Ensuring proper ventilation helps remove smoke and odors. A well-functioning range hood keeps your kitchen fresh. Make sure the fan speed is adjustable for different cooking needs. Regular maintenance of the ductwork prevents blockages and improves airflow.
Electrical Connections
Wiring the new range hood involves a few simple steps. First, ensure the power is off. Use a voltage tester to check the wires. Connect the black wire from the hood to the black wire in the wall. Next, connect the white wires together. Finally, connect the green or bare wire to the ground. Secure all connections with wire nuts.
Safety checks are important before testing the hood. Inspect all connections for any loose wires. Make sure there are no exposed wires. Once everything is secure, turn the power back on. Test the range hood by turning it on. Ensure it works correctly and quietly.

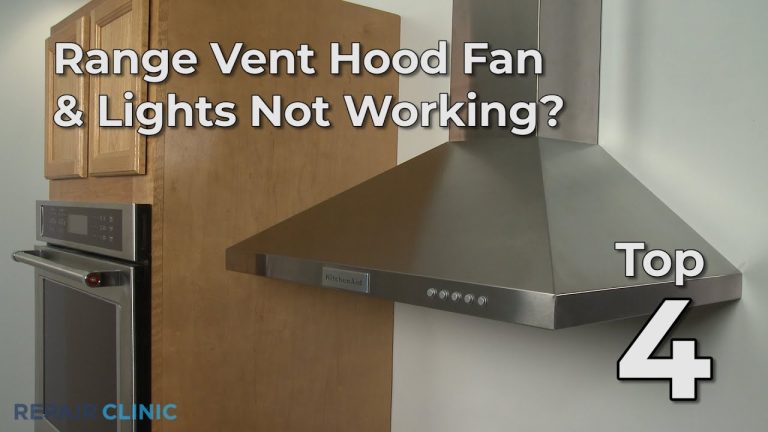
Credit: www.angi.com
Finishing Touches And Maintenance
Choosing a wall mount range hood can enhance your kitchen’s aesthetic appeal. Consider colors and designs that match your kitchen decor. A modern hood can become a focal point. Choose a style that complements your cabinets and countertops.
Regular cleaning is essential for maintaining the hood’s performance. Wipe down the exterior weekly to prevent grease buildup. Monthly, clean the filters to keep the airflow strong. Use warm, soapy water for best results. Check the manufacturer’s instructions for specific cleaning methods.
Inspect the hood for any signs of wear. Look for loose parts or unusual noises. Addressing small issues promptly prevents bigger problems later. Keep the area around the hood free of clutter. This will ensure proper functionality and enhance the overall look.
Troubleshooting Common Issues
Handling installation challenges can be tricky. Start by checking the manual for specific steps. Ensure all tools are ready before starting. If parts seem missing, contact the manufacturer for replacements.
Addressing ventilation problems is essential for proper function. First, check if the ductwork is clear. Blocked ducts can cause poor airflow. Ensure that the fan is securely attached. Test it to see if it runs smoothly.
Consider using a professional for complex issues. They can provide expert advice and solutions. Regular maintenance will help prevent future problems.

Credit: m.youtube.com
Frequently Asked Questions
What Are The Benefits Of A Wall Mount Range Hood?
A wall mount range hood offers superior ventilation and style. It effectively removes smoke, odors, and grease from your kitchen. Additionally, it enhances your kitchen’s aesthetic appeal, creating a focal point. Many models also feature adjustable fan speeds for customized airflow, making cooking more enjoyable.
How Do I Install A Wall Mount Range Hood?
Installing a wall mount range hood requires careful planning. First, ensure you have the right tools and materials. Measure the space accurately to choose the right size. Follow the manufacturer’s instructions for mounting and connect the ductwork. If unsure, consider hiring a professional for safe installation.
Can I Replace My Under Cabinet Hood Myself?
Yes, replacing an under cabinet hood can be a DIY project. Ensure you have basic electrical and plumbing skills. First, disconnect the old unit, then install the new wall mount hood following the instructions. Always prioritize safety and consider consulting a professional if you’re uncertain about any steps.
What Size Wall Mount Hood Do I Need?
The size of your wall mount hood depends on your stove’s width. Ideally, the hood should be at least as wide as your cooktop. A range hood that’s too small won’t effectively ventilate the space. Consult product specifications to find the best match for your kitchen layout.
Conclusion
Upgrading to a wall mount range hood enhances both style and functionality in your kitchen. It provides better ventilation and frees up valuable counter space. This change can elevate your cooking experience significantly. Consider making the switch to enjoy improved air quality and a more modern aesthetic in your home.
