To install an Ikea range hood, follow the provided manual and ensure all necessary tools are on hand. Secure the hood to the wall or cabinet as directed.
Installing an Ikea range hood can enhance your kitchen’s ventilation and aesthetics. This process requires careful attention to detail and adherence to the manufacturer’s instructions. Start by gathering all required tools, such as a drill, screws, and a level. Mark the positions for mounting brackets on the wall or cabinet.
Ensure the hood is level before securing it in place. Connect the electrical wiring following safety guidelines. Proper installation not only improves air quality but also ensures the hood operates efficiently. Always consult the manual for specific model instructions to achieve the best results.

Credit: www.ikea.com
Tools And Materials
A tape measure helps you get accurate measurements. A level ensures everything is straight. Use a screwdriver to tighten screws. A drill makes holes for screws. Safety goggles protect your eyes. A pencil marks positions on the wall.
| Material | Purpose |
|---|---|
| Range Hood | The main unit to install |
| Screws | To secure the range hood |
| Mounting Bracket | Holds the range hood in place |
| Vent Duct | Directs air outside |
| Power Cord | Supplies electricity to the hood |
Preparation
Before starting, wear safety goggles and gloves. Make sure to turn off the power. This prevents any electrical accidents. Unplug the range hood from the wall. Check the installation area for any hazards. Keep the workspace clean and free of debris. Ensure proper ventilation in the room. Have a fire extinguisher nearby, just in case.
Gather all necessary tools like a screwdriver, measuring tape, and level. Lay out the range hood parts on a flat surface. Make sure you have the instruction manual handy. Clear a space around the installation area. Ensure there’s enough lighting to see clearly. Keep a ladder nearby if needed. Having a partner can be very helpful.
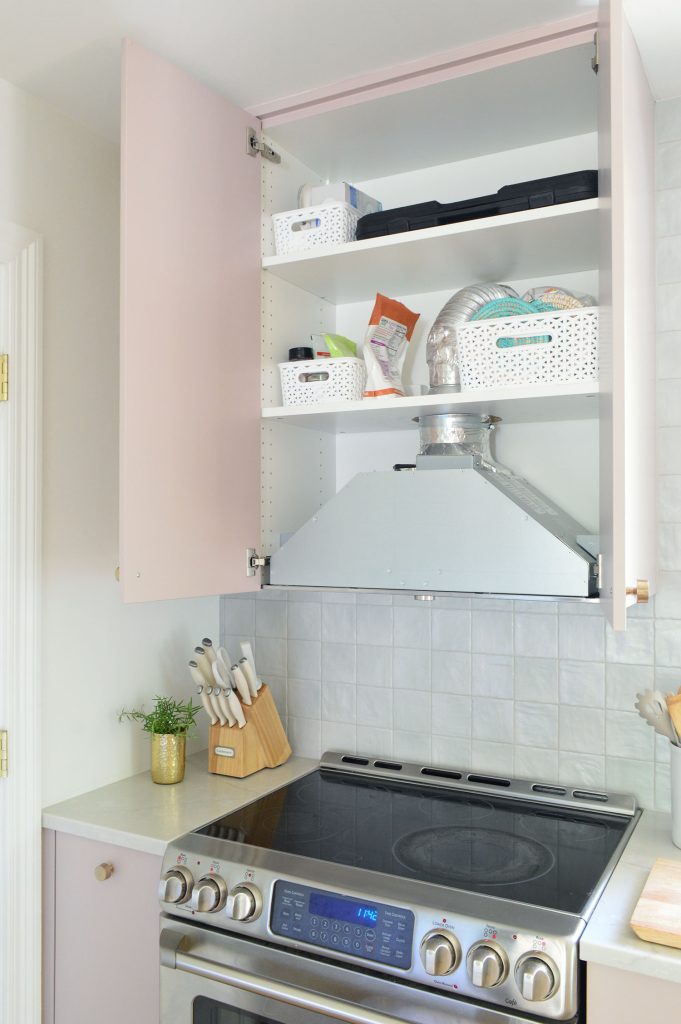
Unboxing The Range Hood
The Ikea range hood box contains several items. You will find the main range hood unit. There are also screws and brackets included. You will get an instruction manual too. Don’t forget the power cable and filters.
Check each item for any damage. Look closely at the range hood unit. Make sure there are no dents or scratches. Examine the screws and brackets. Ensure they are not bent. Verify the power cable is not frayed.
Credit: www.younghouselove.com
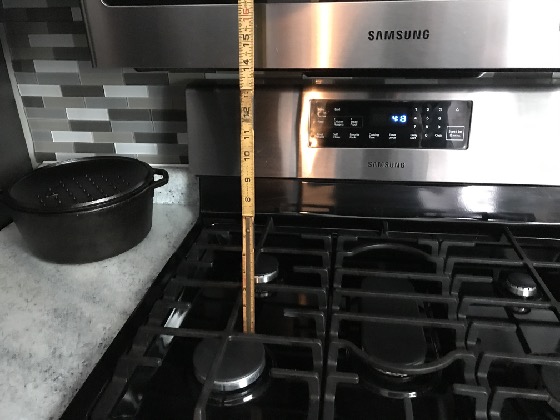
Marking The Installation Area
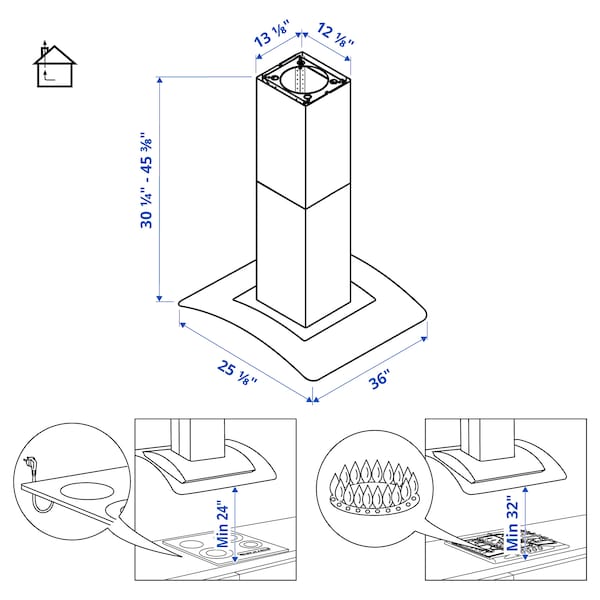
Use a tape measure to find the height and width of the space. Ensure the range hood fits perfectly. It is important to have enough clearance above the stove. Write down all measurements on paper.
Use a pencil to mark the drill points on the wall. These points will guide you when you attach the range hood. Make sure the marks are level. Use a spirit level for accuracy. Check twice to avoid mistakes.
Mounting The Range Hood
Mark the spots where you will drill. Use a pencil for this. Make sure the spots are correct. Double-check your measurements. Hold the range hood in place. Check the alignment. Drill the holes carefully. Use the correct drill bit size. Wear safety goggles while drilling. Clean up any dust after drilling.
Attach the mounting bracket to the wall. Use screws to secure it. Make sure the bracket is level. Tighten the screws firmly. Check the stability of the bracket. Make sure it does not move. Place the range hood on the bracket. Secure it with additional screws. Check that everything is tight and secure.

Credit: easyinstallations.ca
Electrical Connections
Turn off the main power at your home’s breaker panel. Ensure the range hood is not connected to any power source. This step is crucial for your safety. Use a voltage tester to double-check that the wires are not live. Safety is always the top priority.
Match the wire colors from the range hood to the house wiring. Connect black to black, white to white, and green or bare copper to the ground wire. Use wire nuts to secure these connections. Tape the wire nuts for extra safety. Finally, tuck the wires neatly into the electrical box.
Ventilation Setup
Picking the right ventilation type is important. Decide between a ducted or ductless system. A ducted system removes air outside. A ductless system uses filters to clean the air. Each type has its benefits. Ducted systems are more efficient. Ductless systems are easier to install. Think about your kitchen layout. Check if you have space for ducts. Choose what fits your needs best.
First, measure the distance from the hood to the vent. Cut the ductwork to the right length. Use a saw for clean cuts. Attach the duct to the hood with clamps. Seal the joints with tape. Make sure there are no gaps. Secure the duct to the wall or ceiling. Use brackets for support. Finally, connect the duct to the vent. Ensure it is tight and secure.
Final Adjustments
Final adjustments ensure your Ikea range hood installation is perfect. Tighten screws, align the hood, and check ventilation for optimal performance.
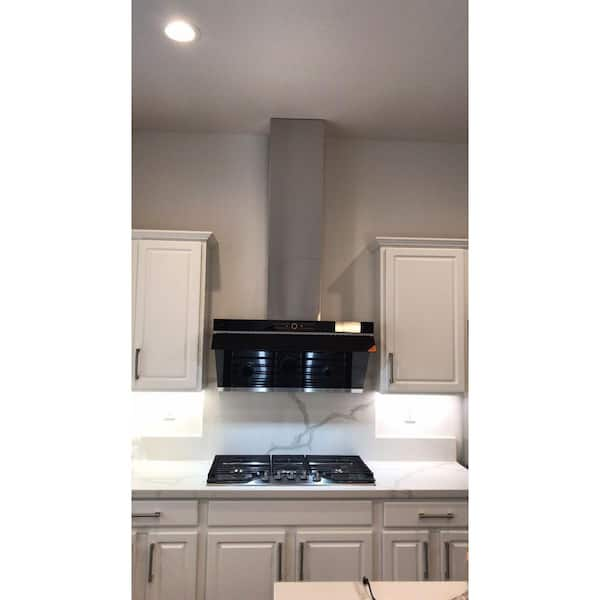
Aligning The Hood
Make sure the hood is centered over the stove. Use a level to check if it is straight. Adjust the brackets if needed. Tighten the screws to keep the hood in place. This will ensure it does not move during use.
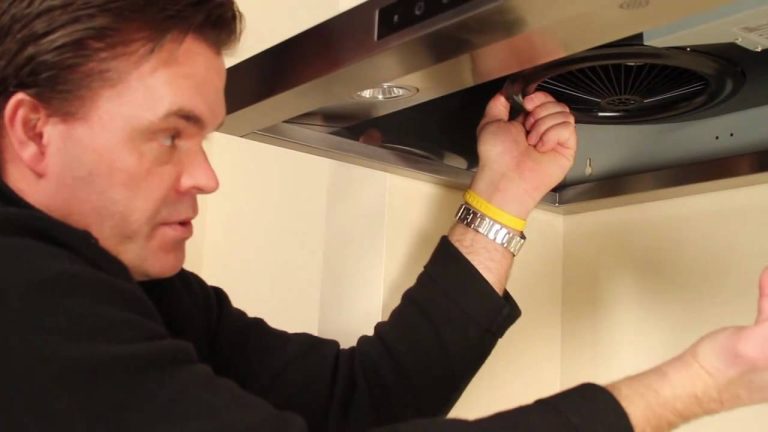
Testing The Functionality
Turn on the hood to test it. Check if the fan works properly. Listen for any strange noises. Ensure the lights are functioning. Make sure the air is being vented outside. If something is wrong, recheck the connections. Fix any issues right away.
Frequently Asked Questions
How To Install An Ikea Range Hood?
Installing an Ikea range hood involves mounting it securely, connecting to a power source, and ensuring proper ventilation. Follow the manufacturer’s instructions for a smooth installation process.
What Tools Are Needed For Ikea Range Hood Installation?
You’ll need a drill, screws, a screwdriver, measuring tape, and possibly a ladder. Always refer to the instruction manual for specific tools.
Can I Install An Ikea Range Hood Myself?
Yes, you can install it yourself if you’re comfortable with basic DIY tasks. Follow the step-by-step instructions provided.
How Do I Ensure Proper Ventilation?
Ensure the ductwork is correctly connected and unobstructed. This allows for efficient airflow and proper functioning of the hood.
Conclusion
Installing an Ikea range hood enhances your kitchen’s functionality and style. Follow the steps carefully for a successful installation. With proper tools and patience, you can achieve a clean, professional look. Enjoy a fresher kitchen atmosphere and improved cooking experience with your new Ikea range hood.