To remove a microwave, first disconnect the power and unscrew any mounting hardware. Then, carefully lift the microwave off the wall or countertop.
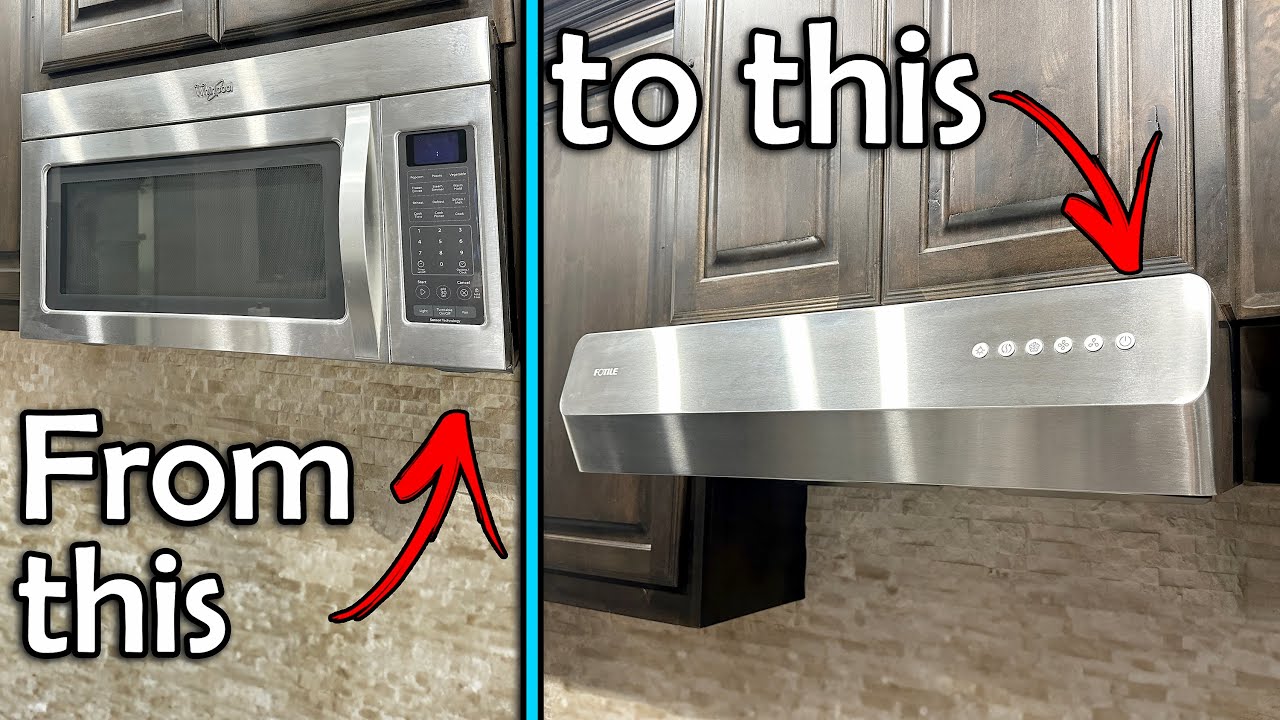
Installing a range hood can transform your kitchen by improving ventilation and reducing cooking odors. This process involves removing the existing microwave and securing the new range hood in place. Proper preparation is key. Gather necessary tools such as a screwdriver, a drill, and a level.
Ensure the new range hood fits the existing space or make adjustments as needed. Safety is paramount; always disconnect power before starting. This guide will provide step-by-step instructions to make the installation straightforward and efficient. With the right approach, you can enhance both functionality and style in your cooking area.
Credit: www.youtube.com
Introduction To Kitchen Upgrades
Upgrading your kitchen can bring many benefits. A range hood helps remove smoke, odors, and grease from the air. This creates a healthier cooking environment. It also keeps your kitchen cleaner by reducing grease buildup on surfaces.
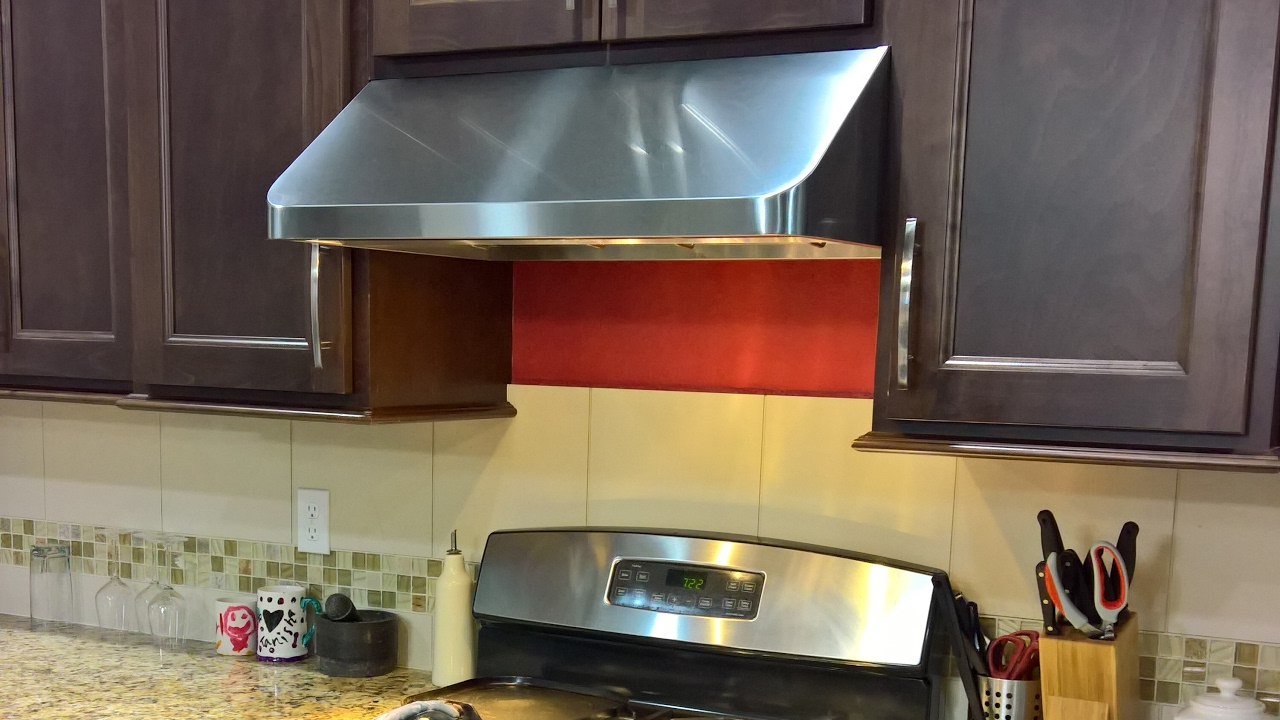
Replacing a microwave with a range hood improves ventilation. This is essential for safe cooking. A range hood can add a stylish touch to your kitchen design. It comes in various styles and sizes to fit your space perfectly.
Another benefit is energy efficiency. Many modern range hoods use less energy than old microwaves. This can lead to lower utility bills over time. Enjoy cooking in a more comfortable and inviting kitchen atmosphere.
Tools And Materials Needed
To remove a microwave and install a range hood, gather the right tools and materials. Here’s a list of the required tools:
| Tool | Purpose |
|---|---|
| Stud Finder | Locate wall studs for mounting |
| Drill | Make holes for screws |
| Screwdriver | Remove screws from the microwave |
| Level | Ensure the range hood is straight |
| Tape Measure | Measure space for correct fit |
Safety is very important. Use the following safety equipment:
- Safety Goggles
- Gloves
- Dust Mask
- Hearing Protection
These tools and safety items will help ensure a smooth installation process.
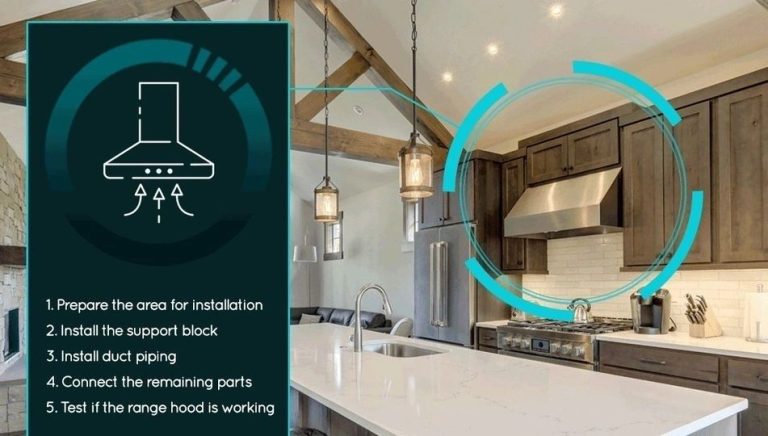
Preparation Steps
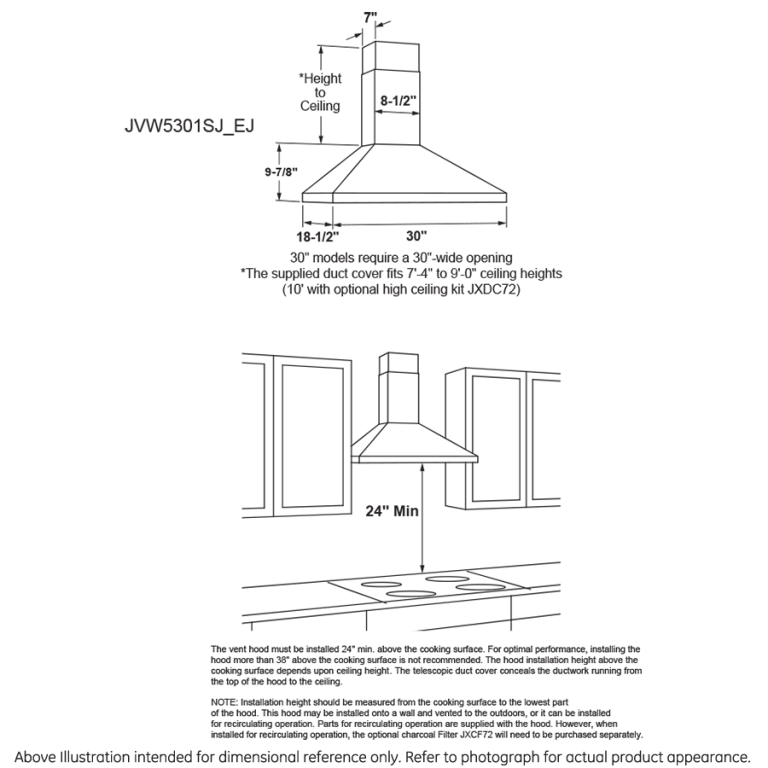
Start by measuring the space for the new range hood. Use a tape measure to get accurate dimensions. Measure the width, height, and depth of the area. Make sure the range hood fits well in the space.
Next, disconnect the microwave from the power source. Unplug it from the wall outlet. If it is hardwired, turn off the circuit breaker. Remove any screws or brackets holding the microwave in place.
Carefully lift the microwave off its mounting. Place it on a soft surface to avoid damage. Ensure that the area is clear for the installation of the new range hood.
Removing The Old Microwave
To remove the old microwave, first, unplug it from the power source. Next, locate the mounting screws on the bottom or back. Use a screwdriver to remove these screws.
Carefully pull the microwave away from the wall. Check for any wires attached to the microwave. Disconnect these wires gently to avoid damage.
Always ensure the power is off before handling any electrical connections. Use a voltage tester to check for electricity. This step is crucial for your safety.
Assessing Ventilation Options
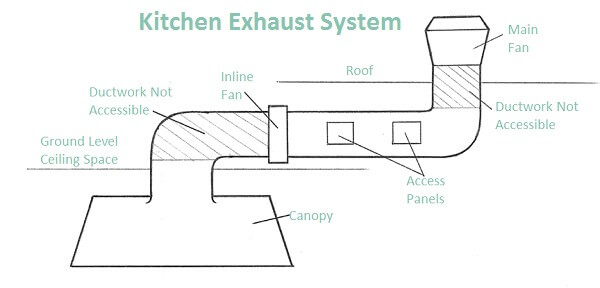
Choosing between a ducted and a ductless range hood is important. A ducted range hood vents air outside. It helps remove smoke and odors effectively. A ductless range hood uses filters to clean air. This option is easier to install.
Both options have pros and cons. Ducted hoods can be more powerful. They require more installation work. Ductless hoods are flexible and don’t need ducts. Regular filter changes are necessary for them.
| Feature | Ducted | Ductless |
|---|---|---|
| Ventilation | Outside | Filtered |
| Installation | Complex | Simple |
| Maintenance | Low | Regular filter change |
| Power | High | Moderate |

Credit: www.kitchenaid.com
Installing The Range Hood
To mount the range hood, start by measuring the space above your stove. Use a level to ensure the range hood is straight. Secure it with screws into the wall studs.
For connecting to ventilation, find the right duct size for your hood. Attach the duct to the range hood securely. Make sure there are no leaks in the connection. Test the fan to ensure it works properly.
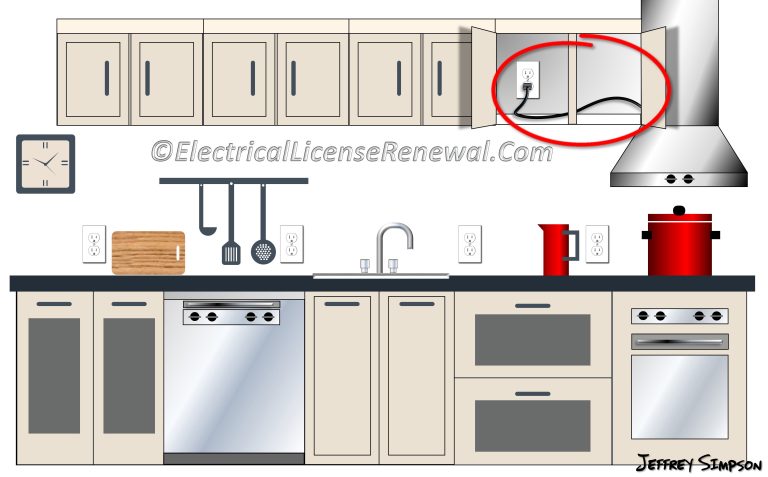
Electrical Wiring For The Range Hood
Electrical wiring is crucial for a safe range hood installation. Ensure the power is off before starting any work. Use a voltage tester to confirm the power is off.
Choose the right wire size based on the range hood’s power requirements. A 14-gauge wire is often suitable. Secure all connections with wire nuts to prevent short circuits.
Check the manufacturer’s instructions for specific wiring needs. Follow local codes to ensure safety.
| Testing Steps | Description |
|---|---|
| Power Check | Ensure the power is off before testing. |
| Function Test | Turn on the power and test the range hood. |
| Airflow Test | Check if the hood effectively removes smoke and odors. |
Finishing Touches
After removing the microwave, sealing and caulking are important steps. Use a high-quality caulk to fill gaps. This prevents air and moisture from entering. Choose a color that matches your kitchen for a neat look.
Apply caulk around the edges of the range hood. Smooth it out with a wet finger for a clean finish. Allow the caulk to dry completely before using the hood.
For final touches, consider adding decorative elements. Install a stylish backsplash above the range hood. This enhances the overall look of your kitchen.
Choose lighting that complements the range hood. Under-cabinet lights can create a warm atmosphere. Select colors that match your kitchen theme for a cohesive look.
Maintenance Tips
Regular cleaning helps keep your range hood in good shape. Wipe down the surface with a damp cloth. Use mild soap to remove grease and dirt. Clean the filters every few months. Soaking them in warm, soapy water works well.
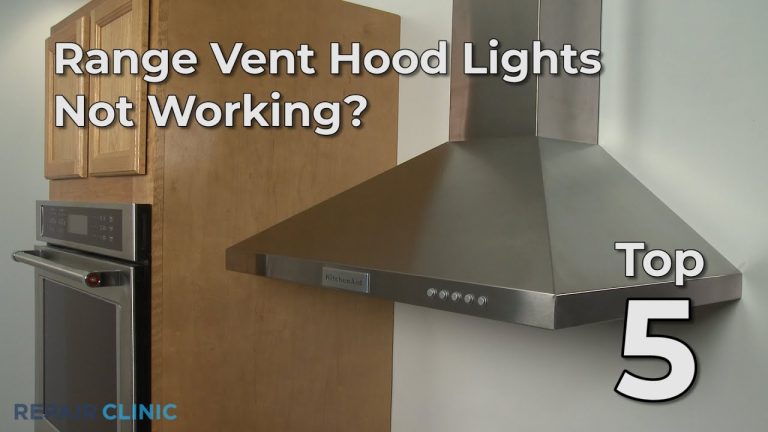
Signs that you need a professional include strange noises or poor performance. If the hood doesn’t turn on, it’s time to call someone. Electrical issues can be dangerous and should be handled by an expert.
Look for unusual smells or smoke when cooking. These could mean your hood isn’t working right. Regular check-ups help catch problems early. Trust a pro for complicated repairs.
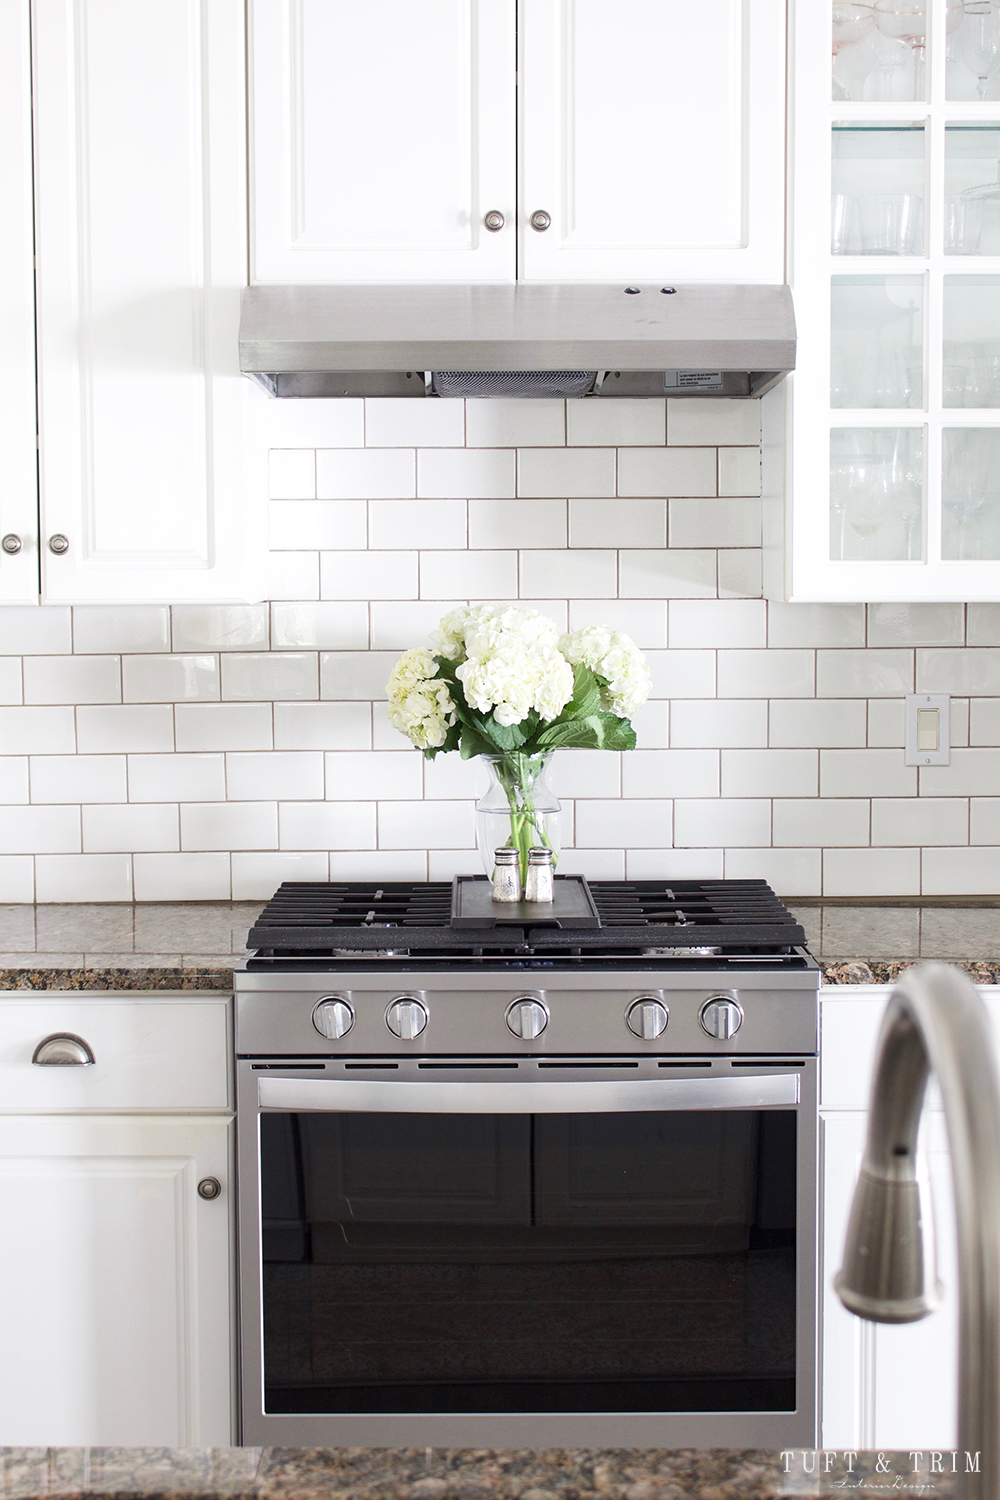
Credit: tuftandtrim.com
Frequently Asked Questions
How Do I Safely Remove My Microwave?
To safely remove your microwave, first unplug it. Next, remove any screws securing it to the wall or cabinet. Carefully lift it off the mounting bracket, ensuring no wires are damaged. It’s advisable to have a second person assist with the lifting process to prevent accidents.
What Tools Do I Need For Installation?
For installing a range hood, you’ll typically need a drill, screwdriver, level, and measuring tape. Additionally, have wire connectors and safety goggles on hand. A stud finder can help locate wall studs for secure mounting. Ensure you also have the range hood’s installation manual for guidance.
Can I Install A Range Hood Myself?
Yes, you can install a range hood yourself if you have basic DIY skills. Follow the manufacturer’s instructions carefully. Ensure you have the right tools and safety equipment. However, if you’re uncomfortable with electrical work, consider hiring a professional for safety.
How Long Does The Installation Take?
The installation of a range hood usually takes 2 to 4 hours. This timeframe can vary based on your experience and the complexity of the setup. Preparing the area and ensuring all tools are ready can expedite the process. Always allow for extra time in case of unexpected issues.
Conclusion
Removing your microwave and installing a range hood can greatly enhance your kitchen’s functionality. This project may seem daunting, but with the right tools and steps, it’s manageable. Enjoy improved ventilation and a sleek look. Follow the steps outlined to ensure a successful installation and enjoy your upgraded kitchen space.