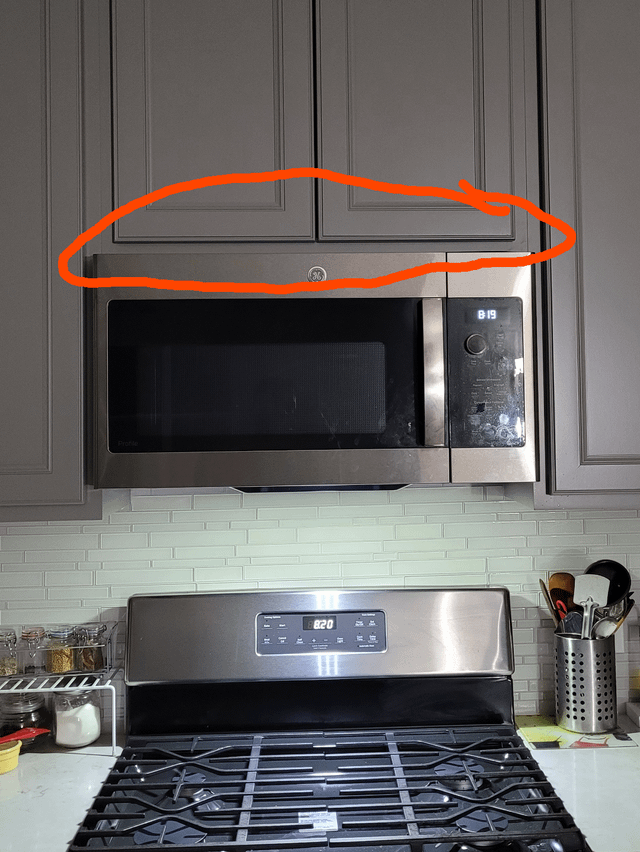
Yes, you should tile behind a range hood. Tiling creates a clean and attractive backdrop while protecting the wall from grease and moisture.
Tiling behind a range hood not only enhances the kitchen’s aesthetics but also serves a practical purpose. A well-tiled area prevents stains and damage from cooking splatters, ensuring your kitchen stays fresh and clean. Choosing the right tile can complement your kitchen’s design, whether modern or traditional.
The installation process is straightforward, and it offers an opportunity to add personality to your space. Various tile materials, colors, and patterns provide plenty of options to fit your style. Prioritizing this area can elevate your kitchen’s overall look while maintaining functionality and ease of cleaning.
The Importance Of Tiling Behind A Range Hood
Tiling behind a range hood is very important. It protects the wall from heat and grease. Without tiles, the wall can get damaged over time. Tiles are easy to clean, making maintenance simple.
Using beautiful tiles can also enhance kitchen aesthetics. They add color and style to the space. A well-tiled area draws attention and looks inviting.
| Benefit | Description |
|---|---|
| Protection | Prevents heat and grease damage. |
| Easy Cleaning | Simple to wipe down and maintain. |
| Aesthetic Appeal | Enhances the overall look of the kitchen. |
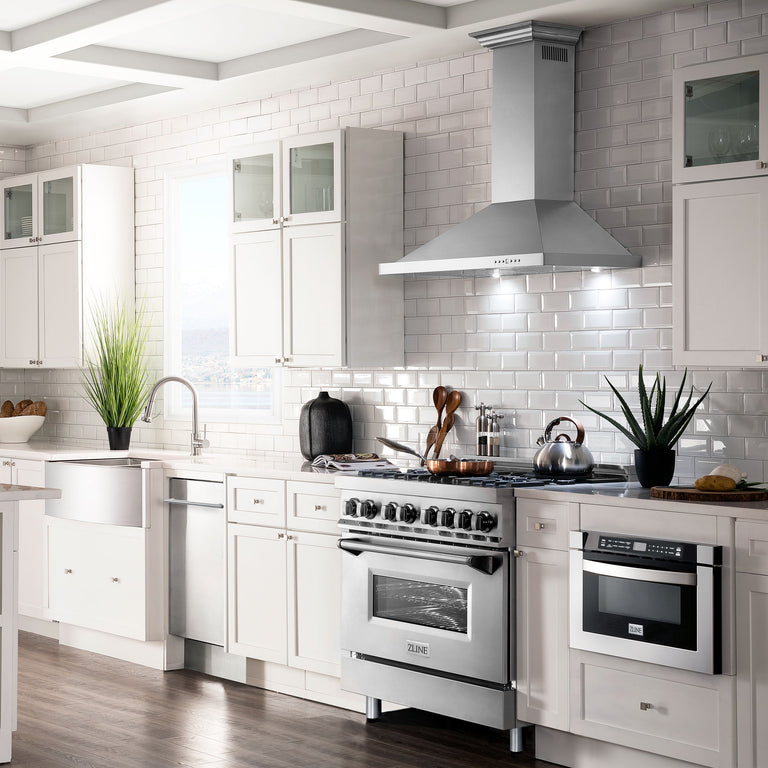
Types Of Tiles Suitable For Range Hood Backsplash
Ceramic and porcelain tiles are popular choices for range hood backsplashes. They are durable and easy to clean. These tiles come in many colors and patterns. This allows for great design options.
Glass tiles add a sleek look to kitchens. They reflect light well and create a bright atmosphere. Stone tiles offer a natural feel. They bring warmth and elegance to the space.
| Tile Type | Benefits |
|---|---|
| Ceramic | Durable, easy to clean, many styles |
| Porcelain | Very strong, moisture-resistant, stylish |
| Glass | Reflects light, modern look, easy to maintain |
| Stone | Natural appearance, unique textures, elegant |
Measuring And Planning Your Tile Layout
Measuring for your tile layout is essential for a great look. Start by measuring the area behind the range hood. This will help determine the amount of tile needed. Use a tape measure to get accurate dimensions.
To calculate tile quantity, multiply the width by the height of the area. This gives you the total square footage. Then, divide by the square footage of one tile. Always add 10% extra for mistakes or cuts.
Visualizing the end result can help in planning. Use a design app or sketch on paper. This way, you can see how the tiles will look together. Consider the color and pattern to match your kitchen style.

Credit: www.pinterest.com
Preparing The Wall For Tiling
Start by cleaning the wall behind the range hood. Use a mild detergent and water to remove grease and dirt. After cleaning, ensure the surface is smooth. Sand any rough spots to create an even surface.
Applying primer is essential for better adhesion. Choose a high-quality primer suitable for your wall type. Use a brush or roller to apply an even coat. Allow the primer to dry completely before tiling.
Step-by-step Tiling Process
Mixing the adhesive correctly is crucial for a strong bond. Use a bucket and a mixer for even consistency. Follow the manufacturer’s instructions for the right ratio of water to adhesive.
Apply the adhesive with a trowel. Spread it evenly on the wall, covering about 2-3 square feet. This helps to prevent the adhesive from drying out.
Next, place the tiles one by one. Press them firmly into the adhesive. Use spacers between tiles to ensure even gaps. Adjust tiles as needed to keep everything straight.
Check alignment frequently. This helps to create a neat and professional look. After placing all tiles, allow the adhesive to cure as recommended.
Cutting Tiles To Fit Around The Range Hood
Cutting tiles requires the right tools for precision. Use a tile cutter for straight cuts. A wet saw is great for larger tiles. A handheld tile cutter works for small jobs.
For smooth edges, try these techniques. First, score the tile lightly with a cutter. Then, apply even pressure to snap it. Use a file or grinder for any rough edges.
Always wear safety gear. Goggles protect your eyes from flying debris. Gloves keep your hands safe while cutting.
Grouting And Sealing For A Finished Look
Choosing the right grout color is important for your kitchen’s style. Light colors can make spaces feel bigger. Dark colors can hide stains and dirt better. Test a few colors on your tiles before deciding. This helps you see how they look together.
Applying sealant helps protect your tiles and grout. It keeps moisture and stains away. Use a high-quality sealant for the best results. Make sure to follow the manufacturer’s instructions for the best application. Regularly check the sealant to ensure it lasts longer.
Credit: mcmanuskitchenandbath.com
Maintenance Tips For Your Tiled Backsplash
Regular cleaning keeps your tiled backsplash looking fresh. Use a mild soap and warm water to wipe the surface. A soft cloth helps avoid scratches. Clean at least once a week for best results.
Stains can be tricky, but quick action makes a difference. Blot spills immediately to prevent them from setting in. For tough stains, a mixture of baking soda and water works wonders. Apply it gently and rinse well.
Check for damages regularly. Cracked tiles or loose grout can lead to bigger problems. Repair them quickly to maintain your backsplash’s beauty. Use a grout sealer to protect against moisture.
Common Mistakes To Avoid When Tiling
Inaccurate measurements can lead to uneven tiles. Always measure twice before cutting. Use a level to ensure perfect alignment. Small mistakes can ruin the look.
Choosing the wrong adhesive is a common error. Not all adhesives work well with tiles behind a range hood. Select a high-quality product suitable for kitchen use. This choice ensures durability and prevents peeling or cracking.
Credit: www.tileclub.com
Professional Vs. Diy Installation
Choosing between professional and DIY installation for tiling behind a range hood is important. Professionals ensure a clean, perfect finish. They save time and avoid mistakes. Hiring them is best for complex designs.
Some situations call for a professional. When you lack experience or tools, a pro helps. If the project is large, their expertise is valuable. Complex layouts also benefit from their skills.
| Pros of DIY Tiling | Cons of DIY Tiling |
|---|---|
| Cost-effective | Risk of mistakes |
| Creative control | Time-consuming |
| Learning experience | Lack of expertise |
Frequently Asked Questions
Should You Tile Behind A Range Hood?
Yes, tiling behind a range hood is recommended. It protects your walls from grease and moisture. Additionally, it enhances the overall aesthetic of your kitchen. Using tiles allows for easy cleaning and maintenance, keeping your cooking area hygienic and stylish.
What Type Of Tile Is Best For Behind A Range Hood?
Ceramic or glass tiles are excellent choices. They are durable, moisture-resistant, and easy to clean. Subway tiles are especially popular due to their timeless look. Make sure to choose tiles that can withstand high heat for optimal performance.
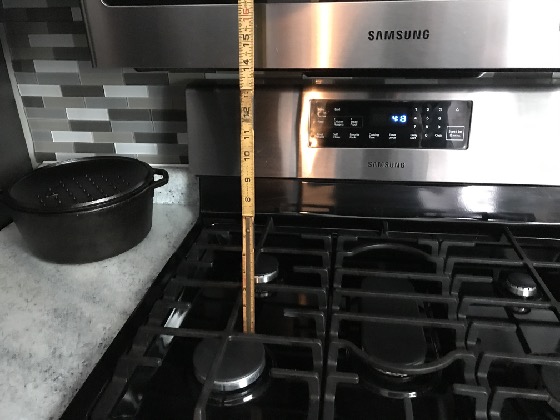
How High Should Tile Go Behind A Range Hood?
Typically, tiles should extend from the countertop to the bottom of the range hood. This height usually ranges from 18 to 24 inches. However, preferences may vary based on kitchen design. Always consider the style and function of your kitchen when deciding.
Can I Use Peel-and-stick Tiles Behind A Range Hood?
Yes, peel-and-stick tiles can be used, but with caution. Ensure they are heat-resistant and suitable for kitchen use. Proper installation is crucial to avoid peeling over time. Regular cleaning and maintenance will also help them last longer.
Conclusion
Tiling behind a range hood can enhance both aesthetics and functionality. It protects your walls from grease and stains while adding a stylish touch to your kitchen. Consider your design preferences and maintenance needs before deciding. Ultimately, a well-tiled area can transform your cooking space into a beautiful and practical environment.