To install a GE Cafe range hood, begin by turning off the power and following the included instructions. Securely mount the hood to the wall or under the cabinet, ensuring proper ventilation.
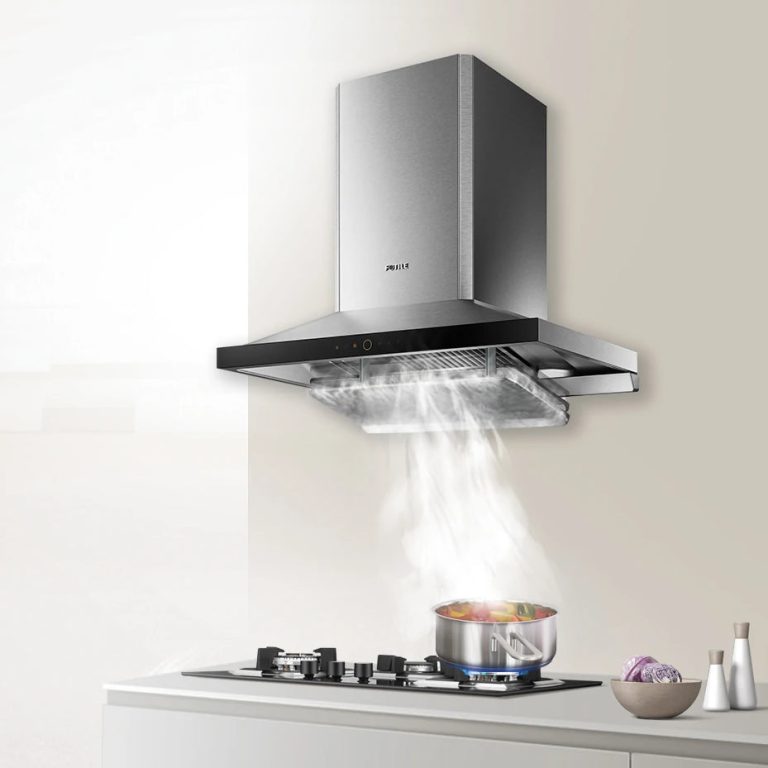
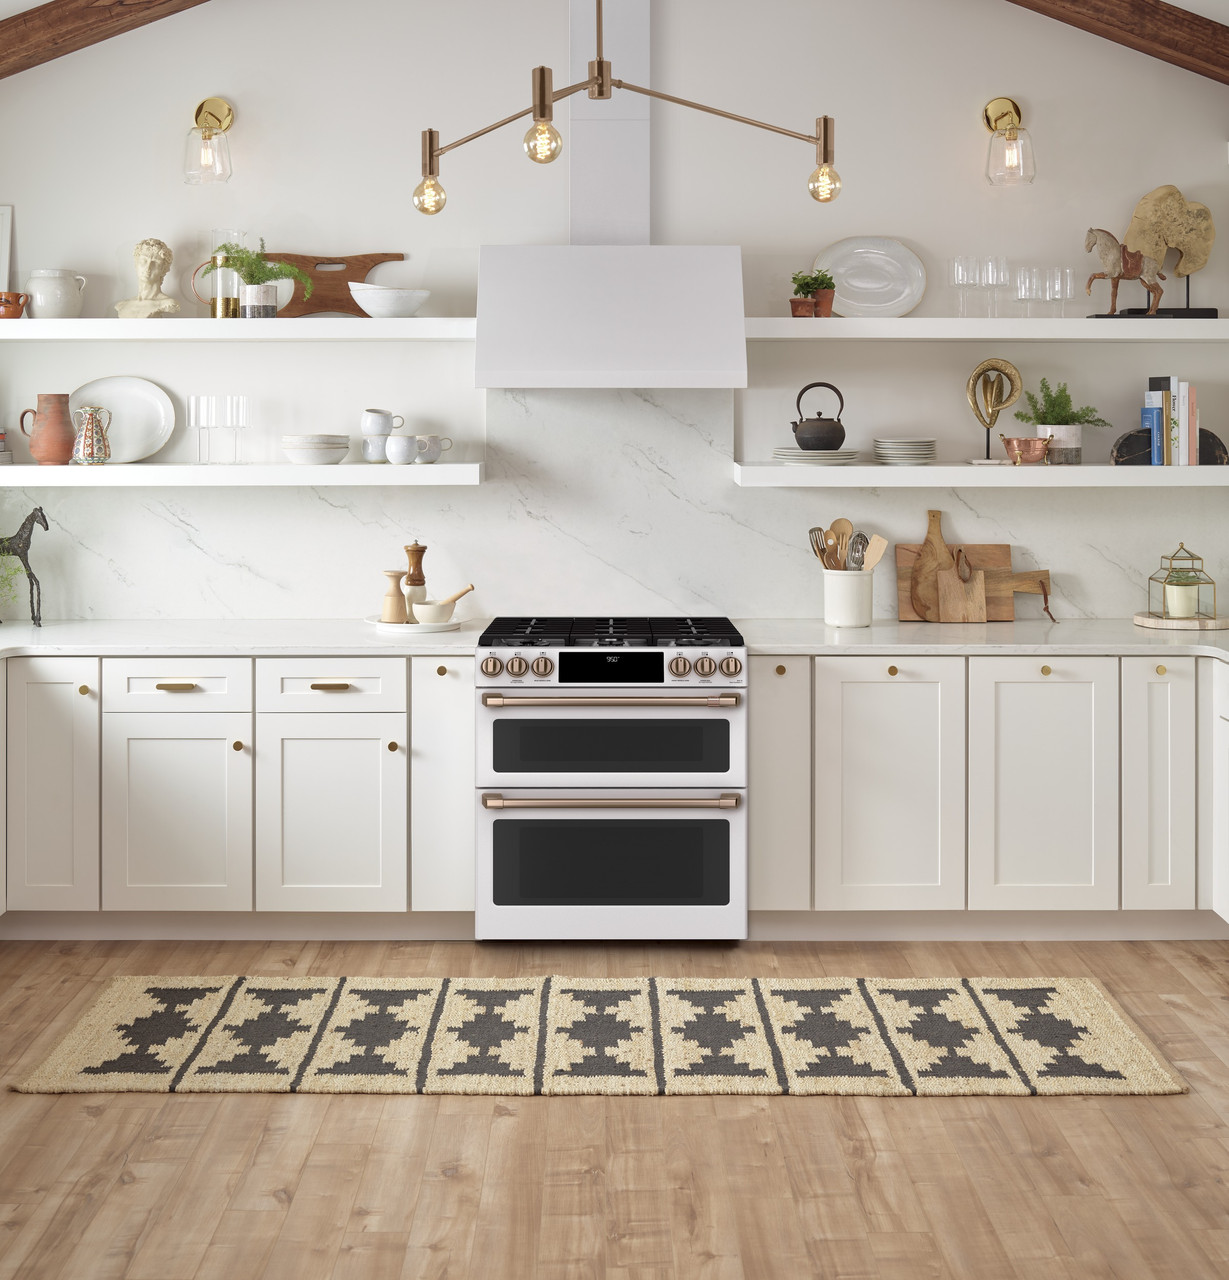
Installing a GE Cafe range hood elevates your kitchen’s functionality and aesthetics. This appliance effectively removes smoke, steam, and odors, improving air quality while cooking. A well-installed range hood enhances your cooking experience and complements your kitchen’s design. Understanding the installation process is essential for achieving optimal performance.
This guide provides essential steps, tools, and tips to ensure a successful installation. With careful planning and the right approach, you can enjoy the benefits of a GE Cafe range hood, making your cooking space more enjoyable and efficient. Let’s dive into the essential steps for a seamless installation experience.
Credit: www.homedepot.com
Introduction To Ge Cafe Range Hood
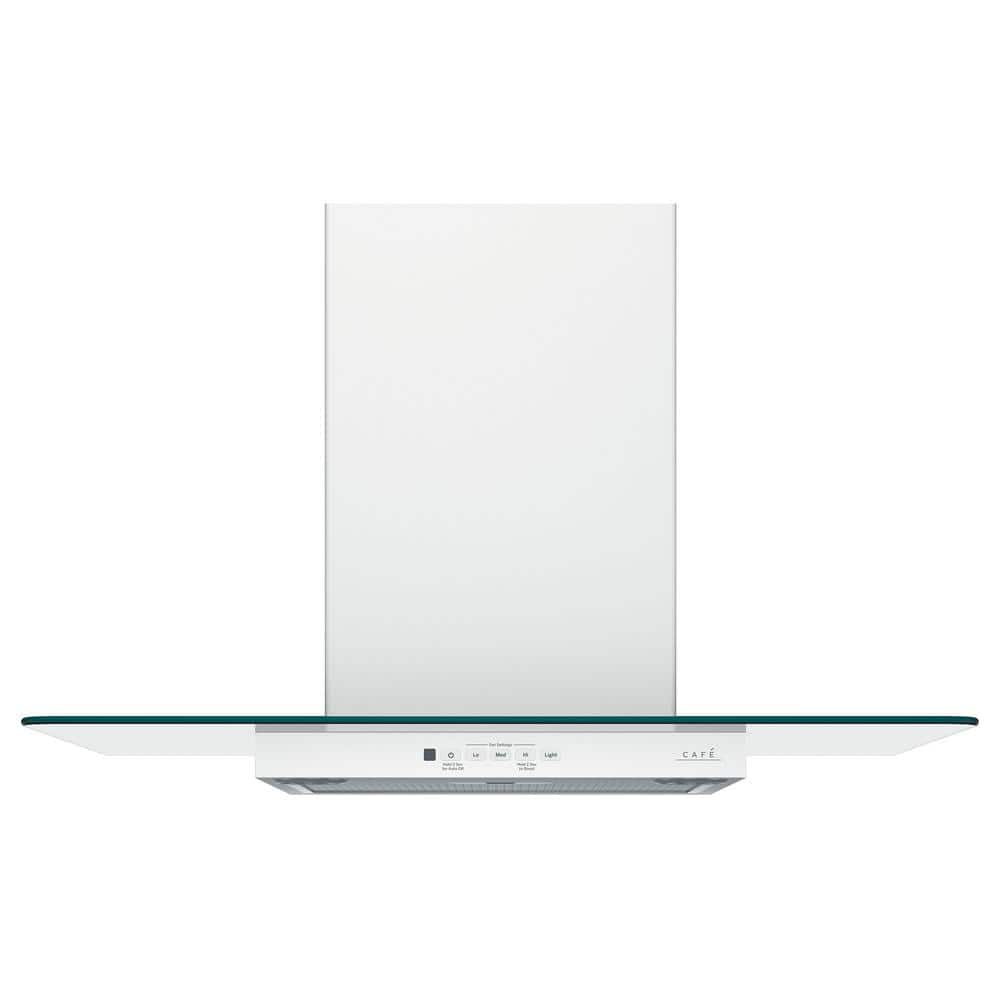
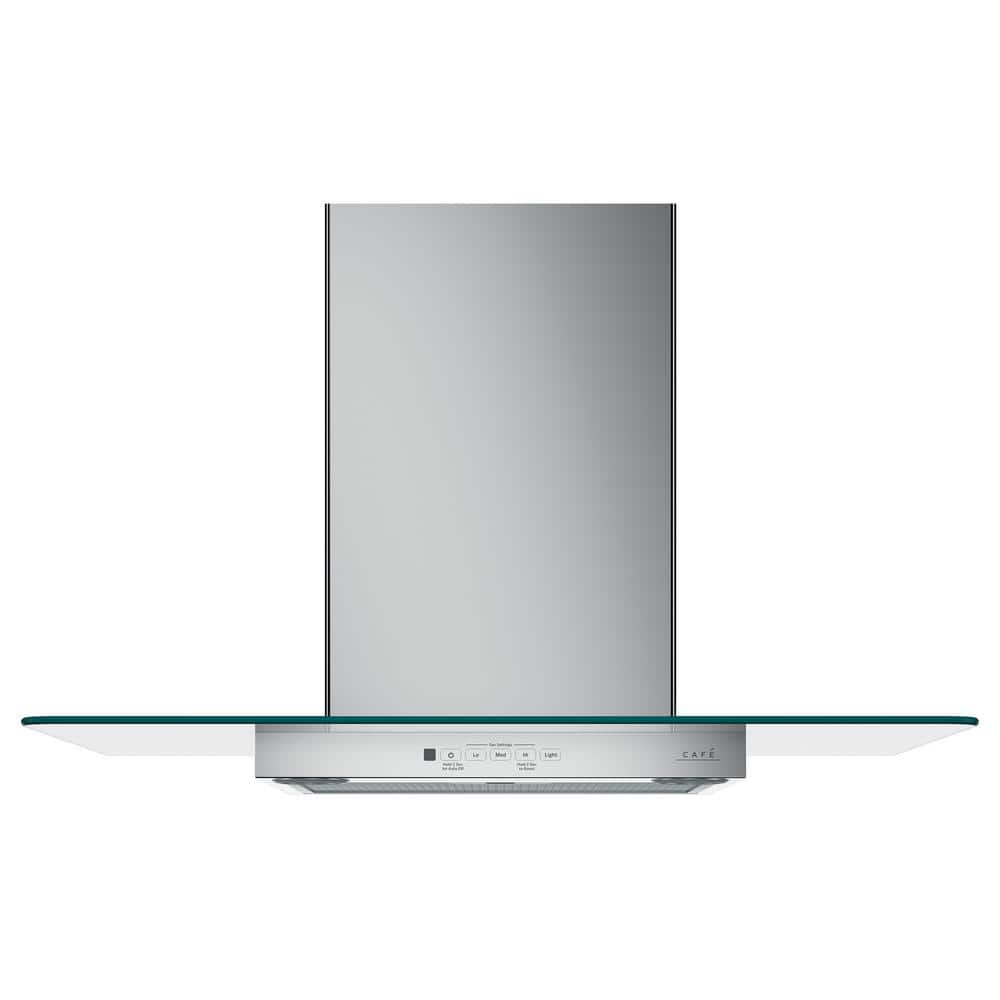
The GE Cafe Range Hood offers many essential benefits for your kitchen. It helps remove smoke, steam, and odors quickly. This keeps your cooking space fresh and clean. Proper ventilation is key to a healthy home environment.
Choosing GE Cafe models means choosing quality and style. These hoods come in various designs to match your kitchen decor. Energy efficiency is another important feature, saving you money over time. Advanced technology ensures quiet operation, so cooking remains enjoyable.
Easy installation makes these range hoods a great choice. They can fit into most kitchen setups without hassle. With a GE Cafe Range Hood, enjoy a clean, stylish, and efficient cooking space.
Pre-installation Planning
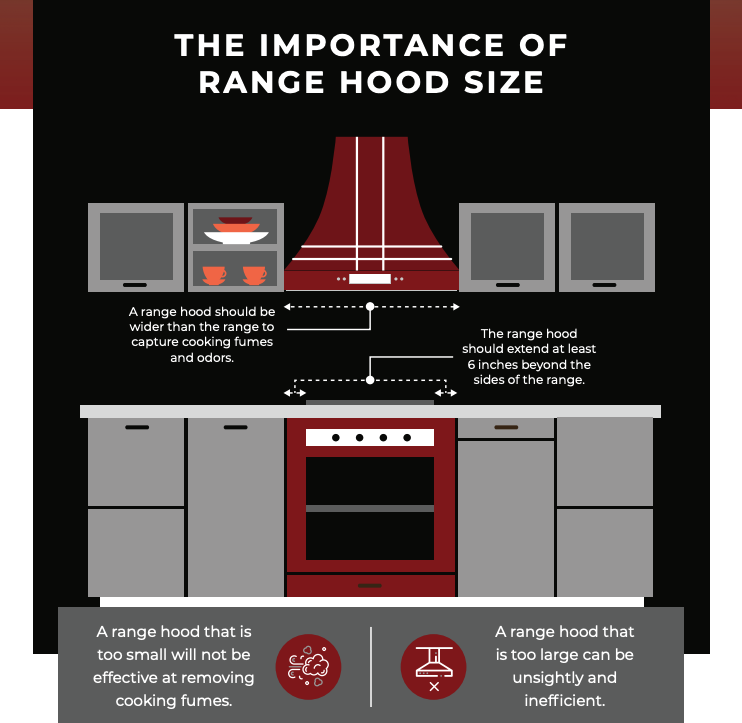
Measuring your kitchen space is very important. Start by measuring the width, height, and depth. This helps ensure a perfect fit for your range hood. Use a tape measure for accurate results. Write down the measurements for future reference.
Selecting the right model for your needs depends on several factors. Consider the size of your kitchen and cooking habits. Look for models with suitable CFM ratings for your cooking style. A higher CFM is better for larger kitchens. Choose a design that matches your kitchen decor. Different finishes like stainless steel or black are available.
Tools And Materials Needed
Installing a GE Cafe range hood requires specific tools and materials. A comprehensive checklist helps keep everything organized.
Here are the essential items:
| Tools | Materials |
|---|---|
| Drill | Mounting brackets |
| Screwdriver | Electrical wiring |
| Level | Ducting materials |
| Tape measure | Vent cover |
Safety is important during the installation process. Always wear gloves and safety goggles. Make sure to turn off the power before starting. Use a sturdy ladder for high installations.
Credit: www.cafeappliances.com
Removing The Old Range Hood
To remove the old range hood, start by turning off the power. Make sure to unplug it or switch off the circuit breaker. Use a screwdriver to unscrew the hood from the wall or cabinet. Gently pull it away from the mounting. Be careful not to damage the surrounding area.
For safe disposal, check local regulations. Many areas have specific rules for electronic waste. Consider recycling the unit at a local facility. This helps reduce landfill waste and is better for the environment. You can also donate the unit if it still works.
Always wear safety gear, like gloves and goggles. This protects you from sharp edges and debris. Taking these steps ensures a safe and responsible removal process.
Preparing For New Installation
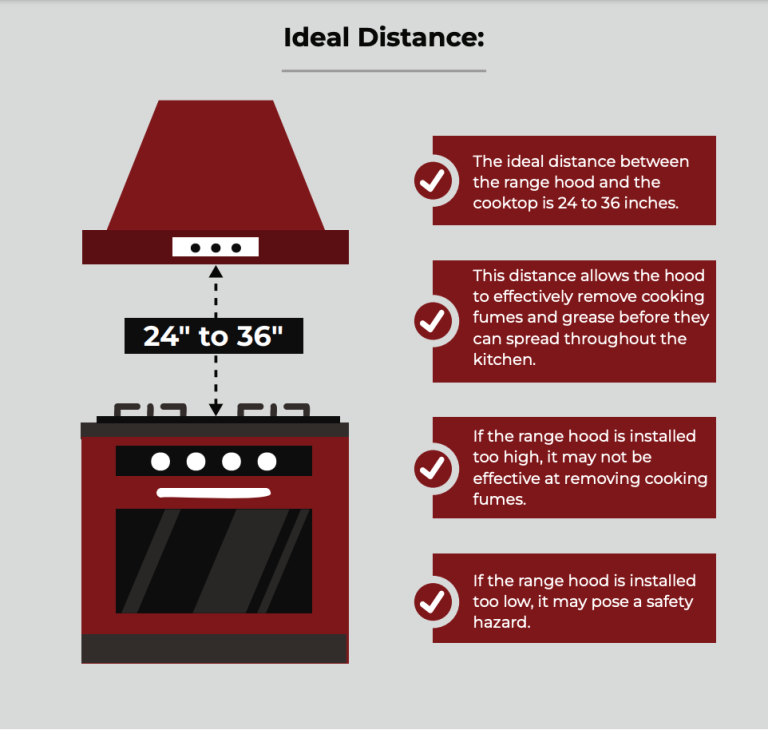
Start by choosing the right location for your range hood. Ensure it is centered above your cooktop. Use a level to mark the wall for accurate placement.
Position the mounting brackets according to the hood’s installation guide. Make sure they are securely attached to the wall. Use proper anchors if installing on drywall.
Check electrical requirements before installation. Ensure the power supply matches the range hood specifications. Turn off the power at the circuit breaker for safety.
Use a voltage tester to confirm no power is flowing. Have a qualified electrician handle any wiring issues. This ensures your installation is safe and compliant.
Step-by-step Installation Process
To secure the hood to the wall, start by locating the studs. Use a level to ensure proper alignment. Drill holes for the mounting brackets. Attach the brackets to the wall using screws. Make sure they are tight and stable.
Next, lift the range hood and align it with the brackets. Secure the hood using screws provided in the package. Check for stability and adjust if needed. This step is crucial for safety.
For connecting the wiring, turn off the power at the circuit breaker. Use wire connectors to join the wires from the hood to the house wiring. Match the colors: black to black, white to white, and green to ground. Ensure connections are secure.
Finally, turn the power back on and test the hood. Make sure it operates smoothly without any issues.
Finalizing The Installation
Start by attaching the vent to the range hood. Use the screws provided in the kit. Ensure the vent is secure and fits tightly.
Next, install the filters. Slide them into place until they click. This step is crucial for proper functionality.
After installation, it’s time for a test. Turn on the range hood at different speeds. Listen for any strange noises that could indicate a problem.
Check if the lights work properly. This ensures both safety and visibility while cooking.
Finally, ensure that the ventilation is effective. Check for air movement to confirm everything is working well.
Credit: www.homedepot.com
Maintenance And Care
Regular cleaning is essential for Ge Cafe range hoods. Dust and grease can build up quickly. Use a soft cloth and mild soap for cleaning. Avoid harsh chemicals that can damage the surface. Clean the filters once a month to keep airflow strong.
Check the fan and motor for any unusual noises. If you notice strange sounds, seek help. Professional servicing is important for major issues. Schedule a service if the hood does not turn on. A qualified technician can inspect and fix problems effectively.
Troubleshooting Common Issues
Noise problems can be annoying. Check if the fan speed is set too high. Reducing the speed may help. Make sure the hood is securely mounted. Loose parts can cause extra noise.
To address ventilation concerns, inspect the ductwork for blockages. Clean any debris or dust. Ensure the vent is open and functioning well. Proper airflow is essential for effective operation.
Using the range hood correctly helps minimize noise and improves ventilation. Regular maintenance keeps it running smoothly. Always refer to the user manual for specific troubleshooting tips.
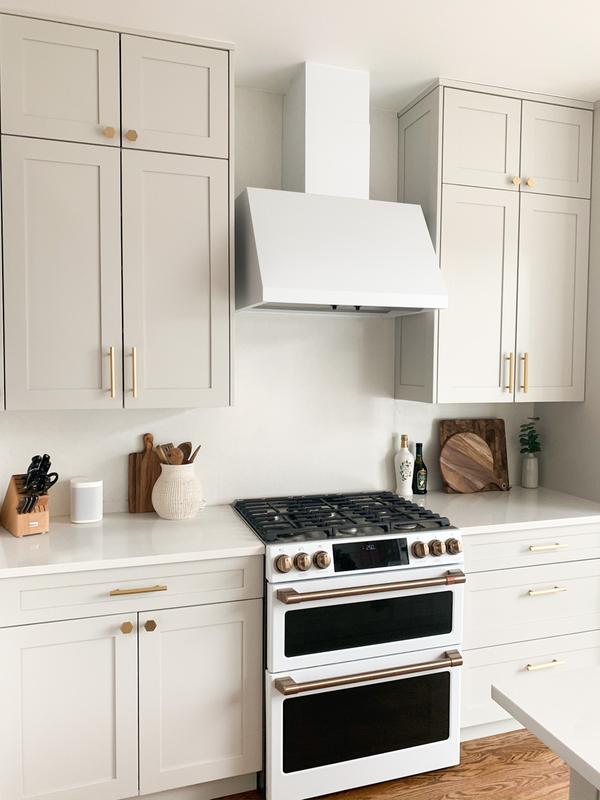
Enhancing Kitchen Aesthetics With Ge Cafe
To enhance your kitchen’s aesthetics, choose a GE Cafe range hood that fits your style. Consider a sleek design that blends with your cabinetry. A stainless steel finish adds a modern touch, while bold colors can create a statement piece.
For lighting, under-cabinet lights can highlight the range hood beautifully. Use warm LED lights to create a cozy atmosphere. Pendant lights above the island also add style and functionality.
Choosing a backsplash is essential. Subway tiles in classic white or a colorful mosaic can work well. A natural stone backsplash adds texture and elegance to the space.
Frequently Asked Questions
How Do I Install A Ge Cafe Range Hood?
To install a GE Cafe range hood, start by reading the manufacturer’s instructions. Ensure you have the necessary tools and materials. Mount the hood securely to the wall or under the cabinet. Connect the ductwork if applicable. Finally, test the unit to ensure proper functionality.
What Tools Are Needed For Installation?
For installing a GE Cafe range hood, you will need a drill, screwdriver, level, measuring tape, and duct tape. Additionally, have safety goggles and a ladder handy. These tools will help ensure a smooth and efficient installation process while maintaining safety standards.
Can I Install It Myself Or Hire A Professional?
You can install the GE Cafe range hood yourself if you have basic DIY skills. However, hiring a professional is recommended for complex installations. This ensures the installation meets safety codes and functions correctly. Consider your comfort level and the complexity of the installation before deciding.
What Are The Common Installation Mistakes?
Common installation mistakes include improper mounting height and inadequate ductwork connection. Failing to secure the hood can lead to vibrations and noise. Additionally, not following the manufacturer’s guidelines may result in inefficient performance. Always double-check your work to avoid these issues.
Conclusion
Installing a GE Cafe range hood can elevate your kitchen’s functionality and style. Following the right steps ensures a seamless setup. Proper installation not only improves air quality but also enhances your cooking experience. Take your time, refer to the manual, and enjoy your new appliance for years to come.