Installing a Winflo range hood requires following the manufacturer’s guidelines for proper venting and electrical setup. Ensure you have the right tools and materials before starting the installation.
A Winflo range hood enhances your kitchen by improving air quality and reducing odors. Proper installation is crucial for optimal performance and safety. Each model may have specific instructions, so always refer to the user manual for details. Basic tools like a screwdriver, drill, and level will help you complete the job efficiently.
Mounting height and proper ducting are key elements to consider. Following these guidelines ensures your range hood operates effectively, bringing style and functionality to your cooking space. Enjoy a cleaner kitchen environment by choosing the right ventilation solution for your needs.
Credit: m.youtube.com
Introduction To Winflo Range Hoods
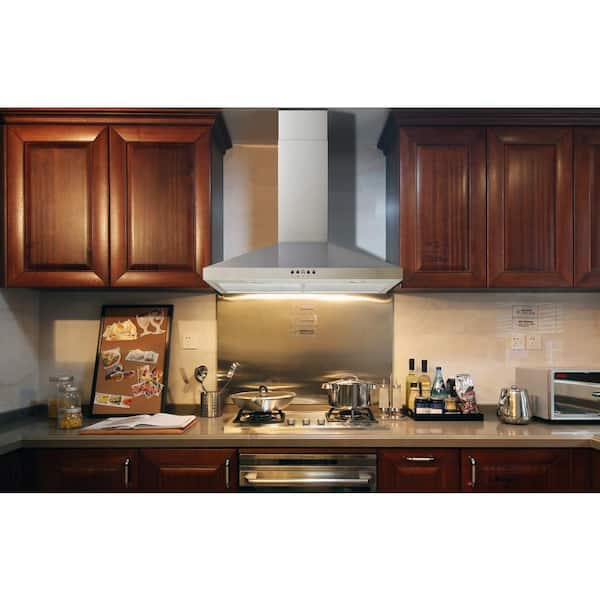
Winflo range hoods are essential for any kitchen. They help remove smoke, odors, and grease. This keeps the air clean and fresh. A good range hood improves your cooking experience.
Choosing Winflo offers many benefits. First, they are powerful and efficient. They come in various designs to match your kitchen style. Easy installation makes them a popular choice. Winflo hoods are also quiet, so cooking can be peaceful.
With Winflo, you get great value for your money. They are made with high-quality materials. This ensures long-lasting performance and durability. Investing in a Winflo range hood is a smart choice for every home.

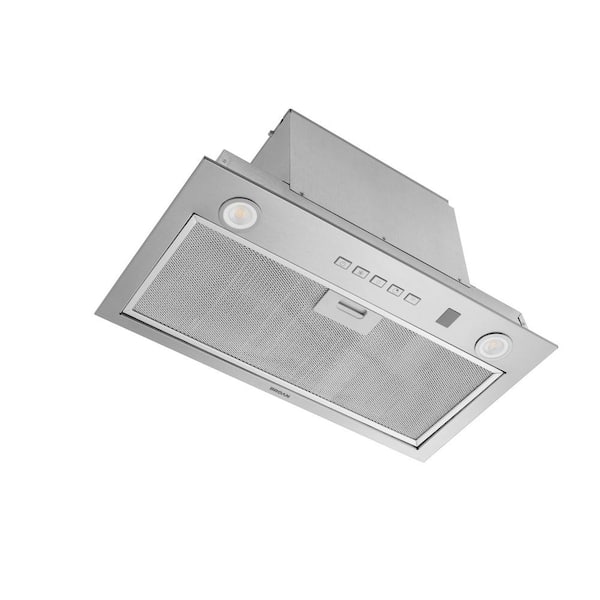
Credit: www.homedepot.com
Selecting The Right Model
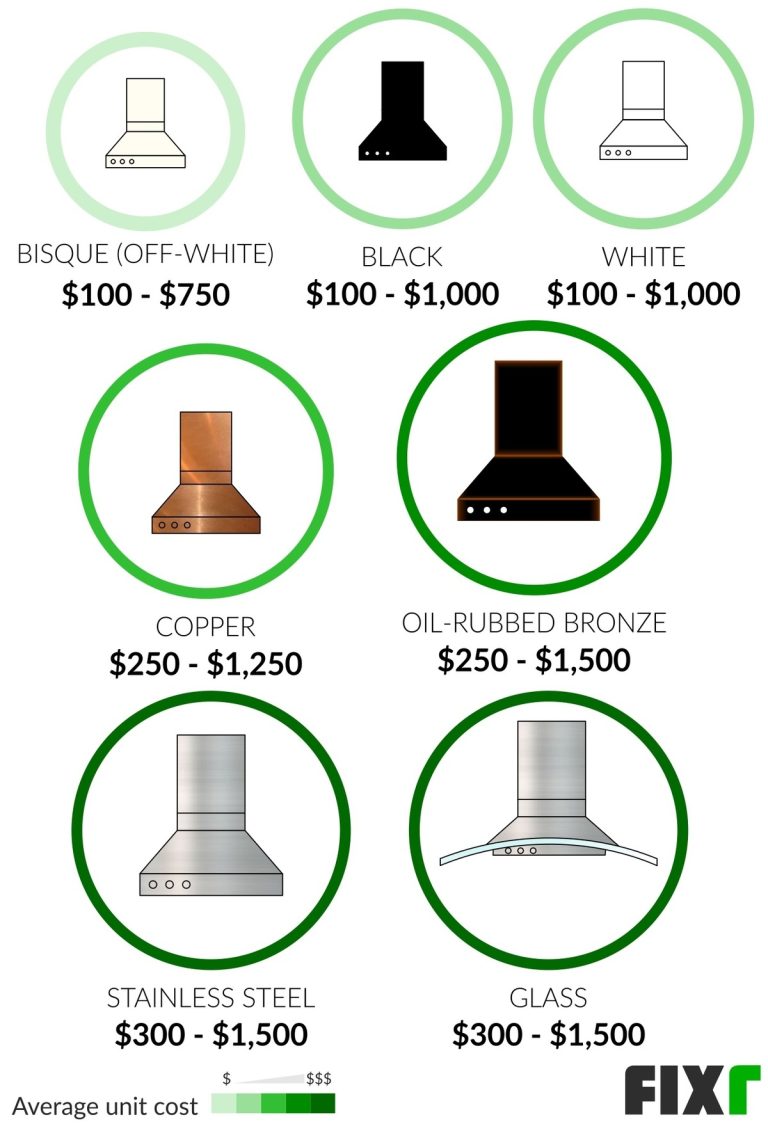
Selecting the right model for your kitchen is important. Assessing the kitchen size and layout helps in making the right choice. A larger kitchen needs a more powerful range hood. Smaller kitchens can use compact models. Measure your kitchen dimensions carefully.
Comparing Winflo models is a great way to find the best fit. Look at the CFM (Cubic Feet per Minute) rating for airflow. Higher CFM means better ventilation. Check the design to match your kitchen style. Consider ease of installation too.
| Model | CFM Rating | Size |
|---|---|---|
| Winflo 30-Inch | 400 CFM | 30 inches |
| Winflo 36-Inch | 600 CFM | 36 inches |
| Winflo 42-Inch | 900 CFM | 42 inches |
Preparing For Installation
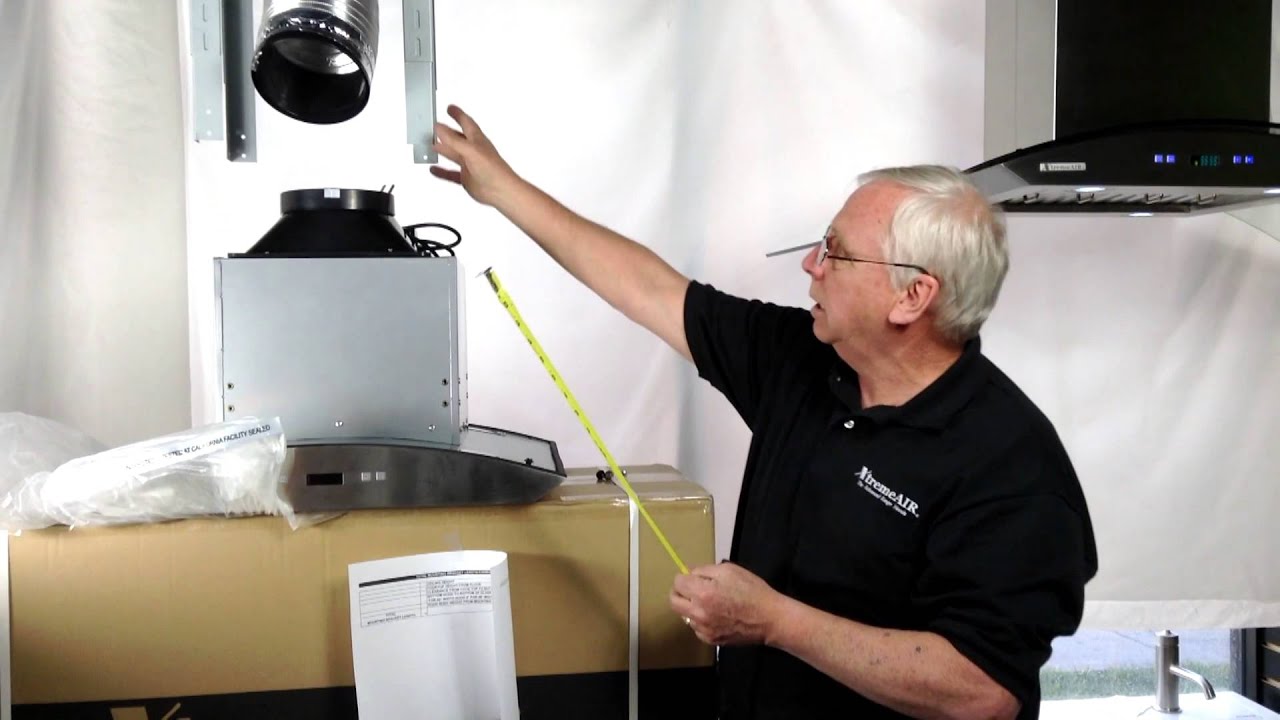
Gather the right tools and materials before starting the installation. You will need a drill, screwdriver, level, and measuring tape. Also, keep screws, wiring, and ductwork handy.
Always prioritize safety during installation. Wear safety goggles and gloves to protect yourself. Ensure the power is turned off at the circuit breaker. Use a ladder safely and keep the area clear of obstacles.
Credit: www.youtube.com
Removing The Old Range Hood
Start by turning off the power supply to the old range hood. This ensures safety during removal. Next, remove any screws that hold the hood in place. Use a screwdriver for this task. Carefully pull the hood away from the wall or cabinet. Watch out for any attached wires. Disconnect the wires gently.
After removing the hood, clean the area to prepare for the new installation. Check for any damage to the wall or cabinet. Dispose of the old hood properly. Many places have specific rules for electronic waste. Consider recycling if possible. This helps the environment and is often easier.
Installing The Winflo Range Hood
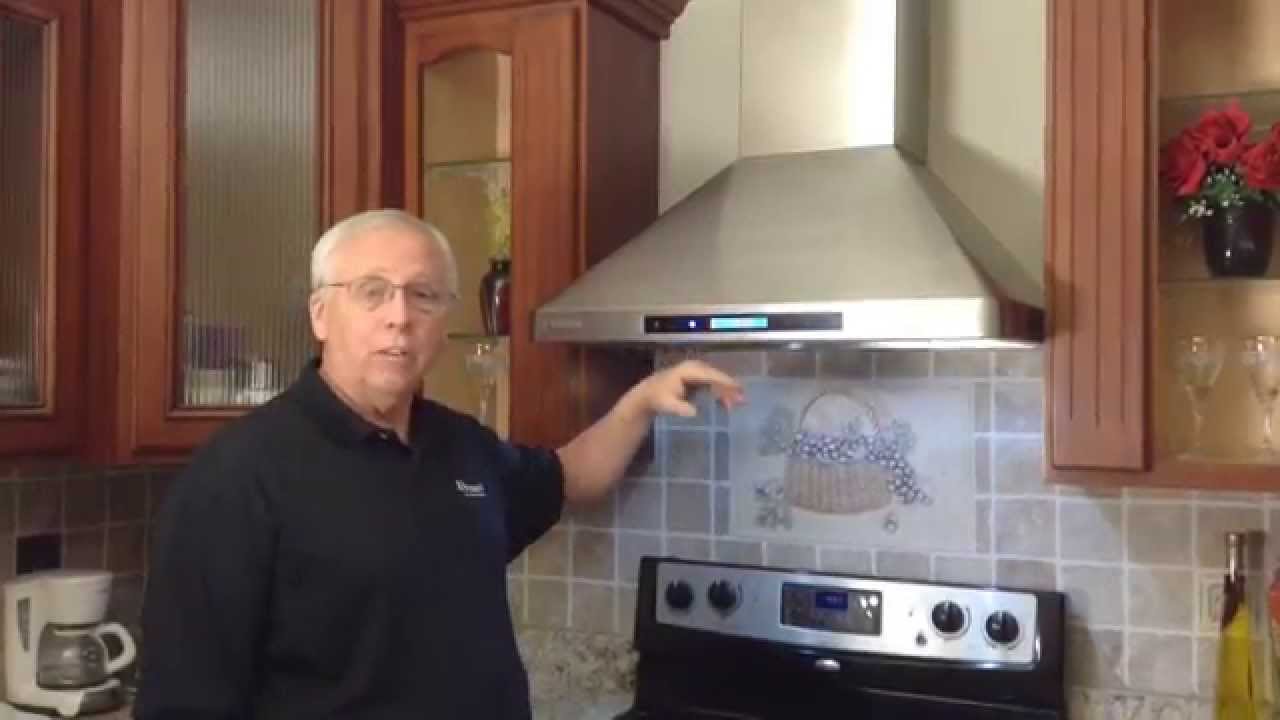
To begin mounting the hood, find a suitable location above your stove. Use a stud finder to locate wall studs. Mark the spots for mounting brackets. Drill holes for the screws and attach the brackets securely.
Next, lift the range hood and align it with the brackets. Make sure it is level before tightening the screws. This step is crucial for proper function and appearance.
Connecting electrical components requires caution. Turn off the power at the circuit breaker. Use wire nuts to connect the hood’s wires to your home’s wiring. Match the black wires together, the white wires together, and connect the ground wire.
After making connections, carefully tuck the wires back into the hood. Secure the range hood to the brackets and restore power at the circuit breaker.
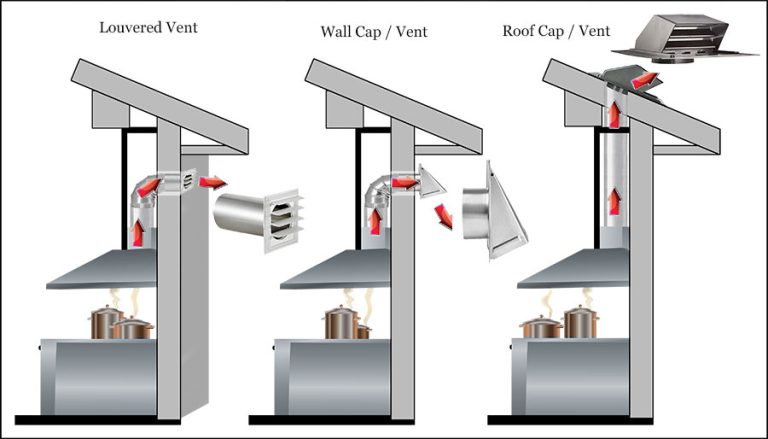
Ductwork Considerations
Choosing between ducted and ductless options is essential for proper installation. Ducted systems vent air outside, providing better air quality. They require more complex ductwork, which may increase installation costs.
Ductless systems recirculate air back into the home. They are easier to install and cost less. However, they may not remove smoke and odors as effectively.
| Option | Pros | Cons |
|---|---|---|
| Ducted | Better air quality, effective odor removal | Higher installation costs, complex ductwork |
| Ductless | Lower costs, easier installation | Less effective air removal, recirculates air |
Ensuring proper ventilation is crucial. Adequate airflow prevents humidity and mold issues. Consider your kitchen size and cooking habits.
Assess the range hood’s CFM rating. This rating indicates how much air the hood can move. A higher CFM suits larger kitchens or heavy cooking.
Finishing Touches
Sealing and caulking are key steps for a perfect Winflo range hood installation. Use high-quality silicone caulk to fill gaps. This prevents air leaks and keeps moisture out. Always clean the area before applying caulk. Let the caulk cure fully for the best results.
For final aesthetic enhancements, consider these tips:
- Choose a color that matches your kitchen decor.
- Add decorative trim around the hood for a polished look.
- Install LED lights for better visibility while cooking.
- Regularly clean the surface to maintain its shine.
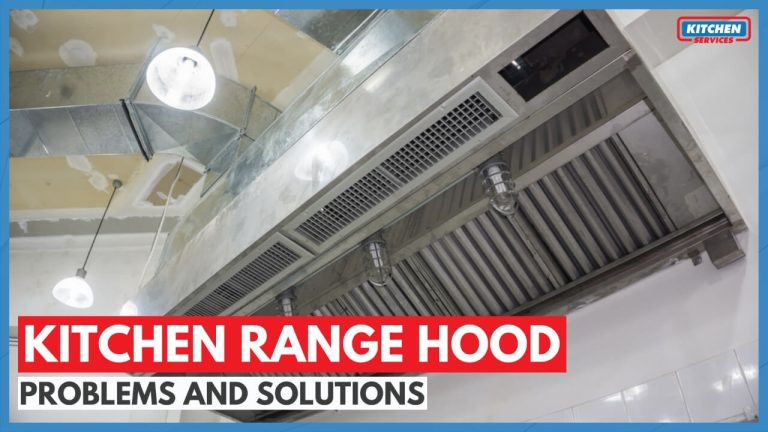
Maintenance Tips
To keep your Winflo Range Hood in top shape, regular cleaning is essential. Wipe the exterior with a damp cloth. For the filters, check them every month. Replace filters every 3 to 6 months for best performance.
For troubleshooting, start with the power supply. Ensure the hood is plugged in securely. Check the circuit breaker if the hood doesn’t turn on.
Strange noises may indicate loose parts. Tighten screws or consult the manual. If the hood doesn’t ventilate well, clean the filters and ducts.
Frequently Asked Questions
How Do I Install A Winflo Range Hood?
To install a Winflo range hood, begin by reading the installation manual. Ensure you have all necessary tools and materials. Mount the hood according to the specified height guidelines. Connect the ductwork as directed, and secure the unit. Finally, test the fan and lights for proper functionality.
What Tools Are Needed For Winflo Installation?
Essential tools for Winflo installation include a drill, level, measuring tape, and screwdriver. You may also need a stud finder for wall mounting. Ensure you have duct tape and wire connectors on hand. Having these tools ready will streamline the installation process and ensure accuracy.
Can I Install A Winflo Range Hood Myself?
Yes, you can install a Winflo range hood yourself if you have basic DIY skills. Follow the manufacturer’s instructions closely for best results. However, if you’re unsure about electrical or ductwork connections, consider hiring a professional. This will ensure safety and compliance with local building codes.
What Is The Ideal Height For Installation?
The ideal height for a Winflo range hood is generally 24 to 30 inches above the cooking surface. This ensures effective ventilation while maintaining accessibility. Adjustments may be needed based on your kitchen layout and personal preference. Always refer to the installation manual for specific recommendations.
Conclusion
Installing a Winflo range hood can elevate your kitchen’s functionality and style. Following the right steps ensures optimal performance. Don’t rush the process; take your time for a precise installation. Enjoy cleaner air and a more pleasant cooking environment. With a little effort, you’ll achieve impressive results that enhance your culinary space.