Installing a Whirlpool range hood involves following the manufacturer’s guidelines and ensuring proper electrical and ductwork connections. A well-executed installation enhances kitchen ventilation and safety.
Proper installation of a Whirlpool range hood is essential for optimal performance and kitchen hygiene. A range hood effectively removes smoke, odors, and grease, making your cooking environment healthier and more enjoyable. Before starting, gather necessary tools and materials, including screws, a drill, and a level.
Familiarizing yourself with the specific model’s instructions will streamline the process. Following these steps not only ensures a secure fit but also maximizes the appliance’s efficiency. A well-installed range hood can significantly improve air quality, making your cooking space more inviting and functional. Prioritize safety and precision to achieve the best results in your kitchen installation project.
Credit: www.whirlpool.com
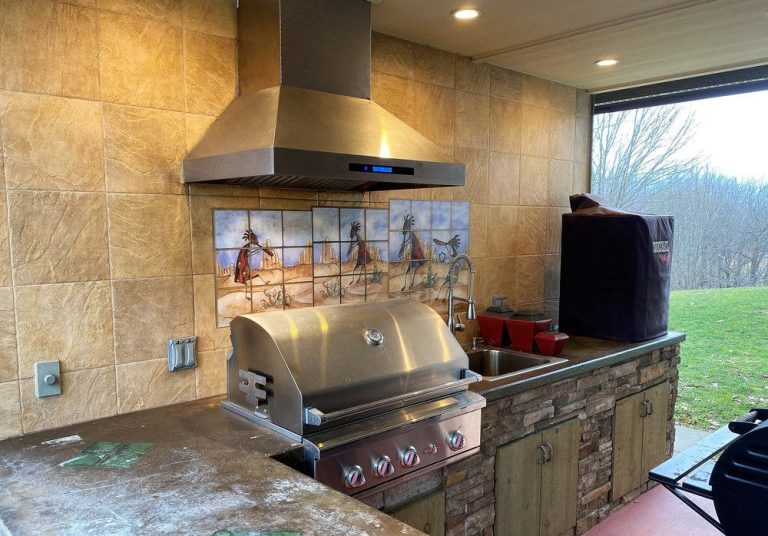
Introduction To Whirlpool Range Hoods
Whirlpool range hoods offer many benefits for your kitchen. They help keep the air clean and fresh. Cooking creates smoke and odors. A range hood removes these unwanted particles. This makes your home a healthier place.
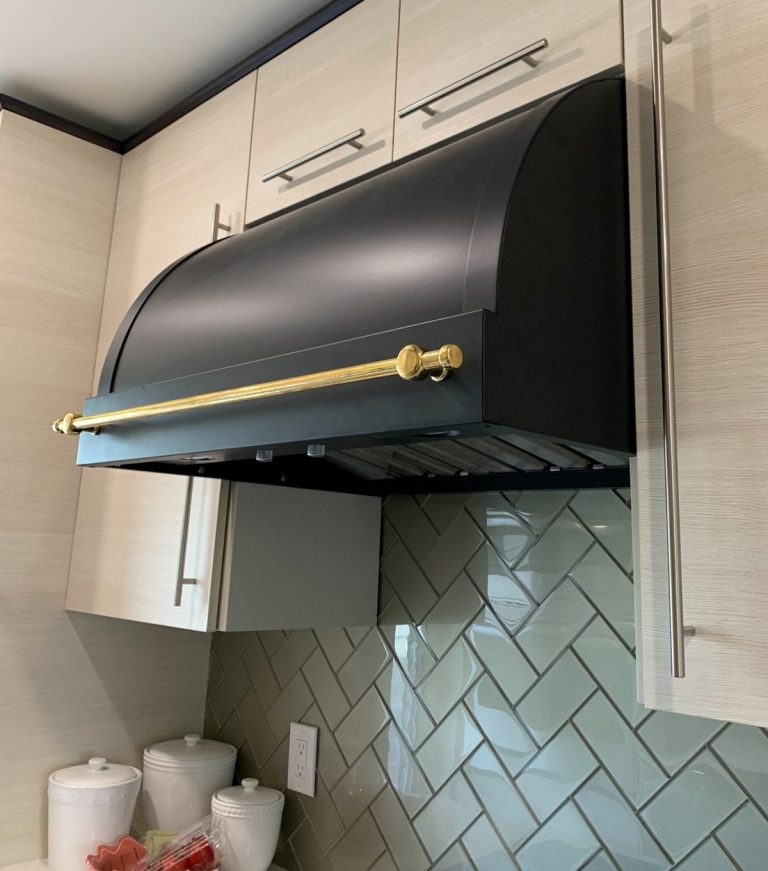
Whirlpool models are known for their durability and style. They come in different designs to match any kitchen. Installation is often simple, making it easy for homeowners. Many models include energy-efficient options, saving you money.
Choosing Whirlpool means you get reliable performance. Their range hoods are designed to operate quietly. This means you can cook without noise distractions. A Whirlpool range hood is a smart addition to any kitchen.
Pre-installation Considerations
Measuring your space is crucial. Start by checking the width of your cooktop. The range hood should be wider than the cooktop.
Select the right model based on your kitchen’s style and size. Consider venting options like ducted or ductless. Choose a model with the right CFM for effective airflow.
Gather the necessary tools and materials. You will need a screwdriver, level, and drill. Also, keep screws, duct tape, and a stud finder handy. These items make the installation process easier.
Safety First
Electrical safety is very important during Whirlpool range hood installation. Always turn off the power at the circuit breaker. This prevents shocks and accidents. Use a voltage tester to ensure no electricity is flowing.
Wear the right Personal Protective Equipment (PPE). This includes gloves, safety glasses, and hard hats. These items protect against potential injuries. Ensure your workspace is clean and free of clutter.
Check all tools before use. Make sure they are in good condition. Damaged tools can cause accidents. Follow the manufacturer’s instructions closely for safe installation.
Removing The Old Range Hood
Start by disconnecting the power to the old range hood. This keeps you safe during the process. Turn off the circuit breaker that supplies power to the hood.
Next, remove the cover from the electrical junction box. This may require a screwdriver. Carefully disconnect the wires attached to the hood. Make sure to note where each wire connects.
After that, dismantle the old range hood. Remove screws or bolts holding it in place. Use a sturdy step ladder if necessary. Keep all parts organized for easy cleanup.
Dispose of the old hood properly. Check local guidelines for disposal regulations. Always remember to work safely and keep your workspace tidy.
Installing The New Whirlpool Hood
Start by securing the mounting bracket. Use a level to ensure it is straight. Attach it to the wall with screws. Make sure it is very sturdy.
Next, focus on the electrical connections. Turn off the power before starting. Connect the wires from the hood to the house wiring. Use wire nuts to secure the connections.
Finally, attach the hood to the bracket. Lift it carefully and align it with the bracket. Secure it using screws provided in the package. Check if it is stable and level.
Finishing Touches
Check for proper ventilation after installing the Whirlpool range hood. Make sure air flows freely. Blockages can reduce effectiveness. Use a ventilation test to ensure it works well.
Making cosmetic adjustments improves the look of your installation. Align the hood with cabinets and walls. Use trim kits to fill gaps. Ensure screws are hidden for a cleaner look. Adjust the height if needed for better aesthetics.
Maintenance Tips
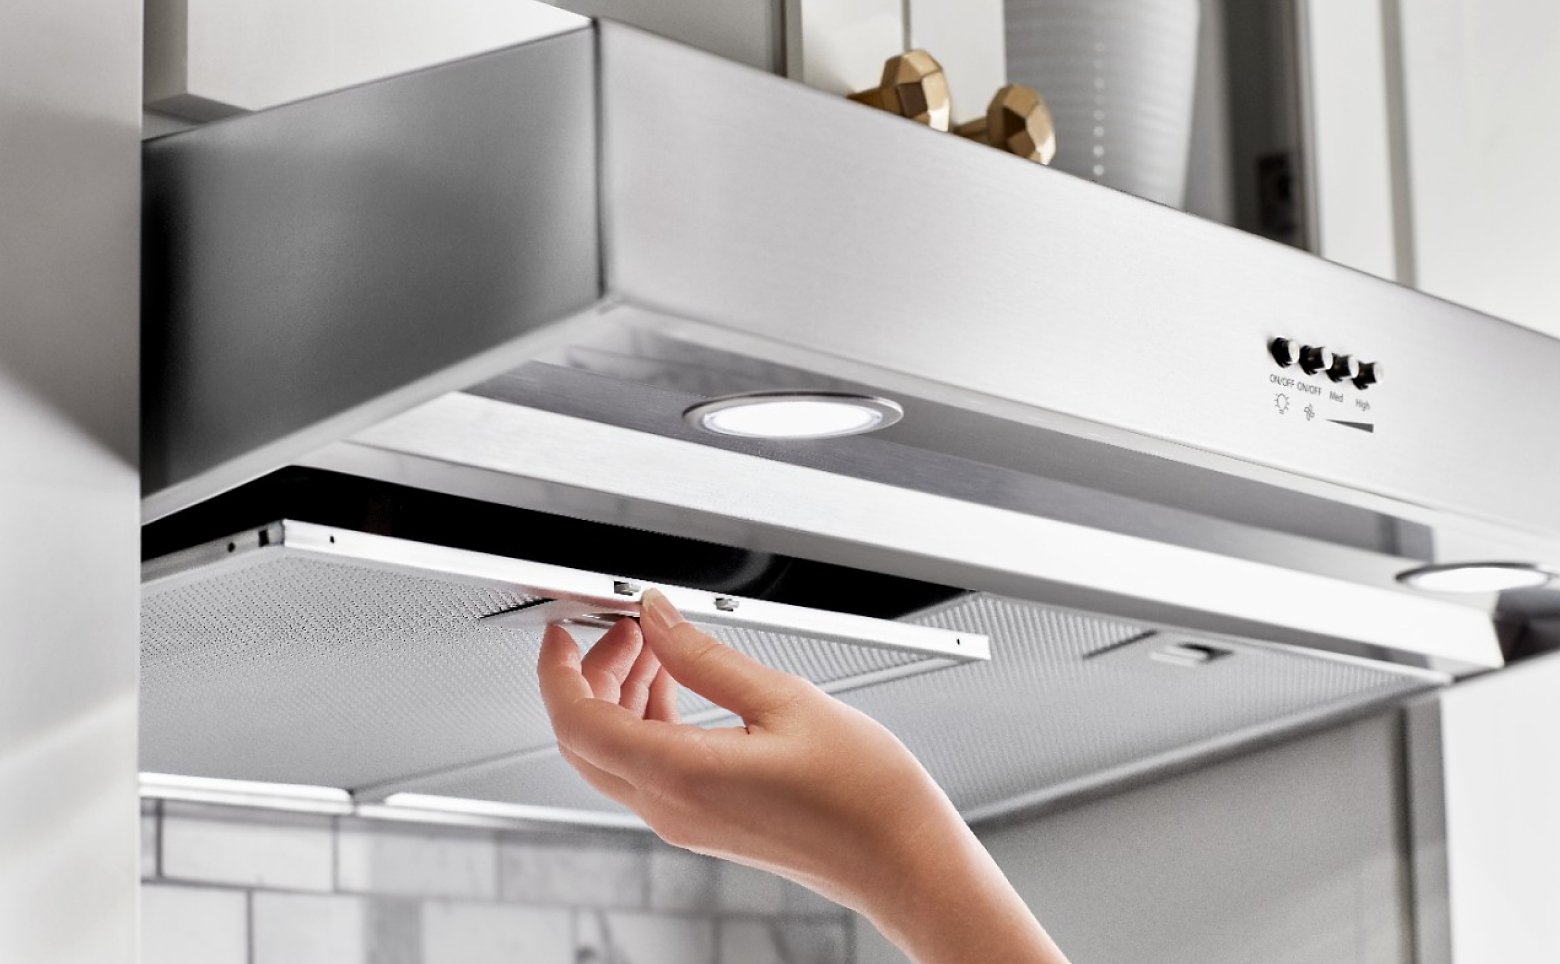
Keeping your Whirlpool range hood clean is important. Regular cleaning helps maintain performance. Wipe down surfaces with a damp cloth weekly. Use a gentle cleaner to avoid damage.
Focus on areas that collect grease. Pay special attention to the filters. Clean the filters every month. Soak them in warm, soapy water. Rinse and dry them completely before reinstalling.
Inspect the filters for wear. Replace them if they are damaged or clogged. A clean range hood works better and lasts longer.

Credit: www.whirlpool.com
Troubleshooting Common Issues
Noise problems can be frustrating. Check if the fan speed is set too high. Lowering the speed may help. Ensure the filters are clean. Dirty filters can cause extra noise. Tighten any loose parts. Loose screws can lead to vibrations.
Addressing ventilation concerns is crucial. Make sure the ductwork is properly installed. Blocked ducts can reduce airflow. Inspect for any leaks in the ducting. Sealing leaks improves performance. Ensure the outdoor vent opens freely. A blocked vent can cause backdrafts.
Use sound-absorbing materials. Adding insulation around ducts can reduce noise. Regular maintenance keeps everything running smoothly. Check the user manual for specific instructions.
Professional Help Vs. Diy
Installing a Whirlpool range hood can be a challenging task. Knowing when to call a professional is important. If you lack experience, it may be best to seek help. Complex electrical work often requires expertise. Professionals can ensure safety and proper installation.
Benefits of DIY installation include saving money and learning new skills. You gain hands-on experience that can boost your confidence. DIY projects can be fun and rewarding. However, always have a clear plan before starting. Research the installation process thoroughly to avoid mistakes.

Credit: www.whirlpool.com
Conclusion
Installing a Whirlpool range hood can elevate your kitchen experience. It improves air quality and enhances cooking efficiency. Following the right steps ensures a smooth installation process. Always refer to the user manual for specific guidelines. Enjoy a cleaner, more comfortable kitchen with your new range hood.
Happy cooking!