Proline range hood installation involves mounting the unit, connecting ductwork, and securing electrical connections. Follow the manufacturer’s guidelines for a smooth and efficient setup.
Installing a Proline range hood enhances your kitchen’s functionality and aesthetics. This essential appliance effectively removes smoke, odors, and grease, creating a healthier cooking environment. Choosing the right model and ensuring proper installation can significantly improve your cooking experience. Whether you opt for a wall-mounted or under-cabinet design, each type has unique benefits.
Clear instructions and the right tools make the installation process manageable for most DIY enthusiasts. Understanding the specifications of your kitchen layout is crucial to maximizing the effectiveness of your range hood. With the right preparation, you can achieve a professional-quality installation that elevates your culinary space.
Introduction To Proline Range Hoods
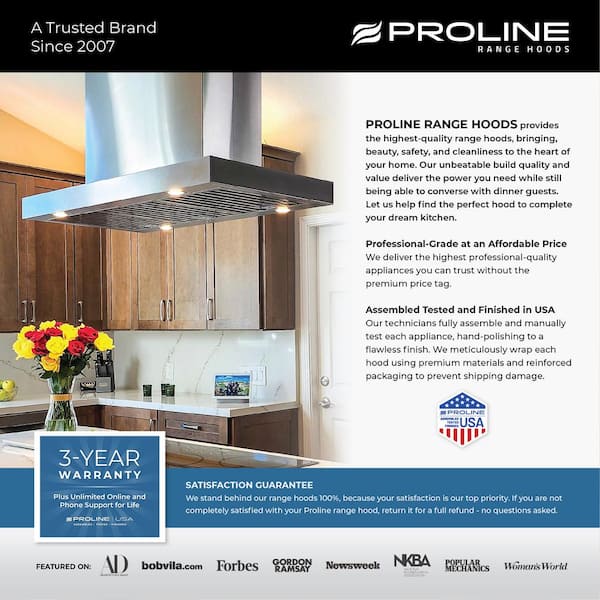
Proline range hoods are an excellent choice for any kitchen. They provide strong ventilation to remove smoke, odors, and grease. A quality range hood can improve air quality and make cooking more enjoyable.
Easy to install, Proline range hoods fit various kitchen styles. They come in different sizes and designs, ensuring a perfect match for your space. Quiet operation is another key feature, allowing for a peaceful cooking environment.
Choosing Proline means investing in durability and performance. These hoods are made with high-quality materials for long-lasting use. Their energy-efficient options also help reduce electricity costs while keeping your kitchen fresh.
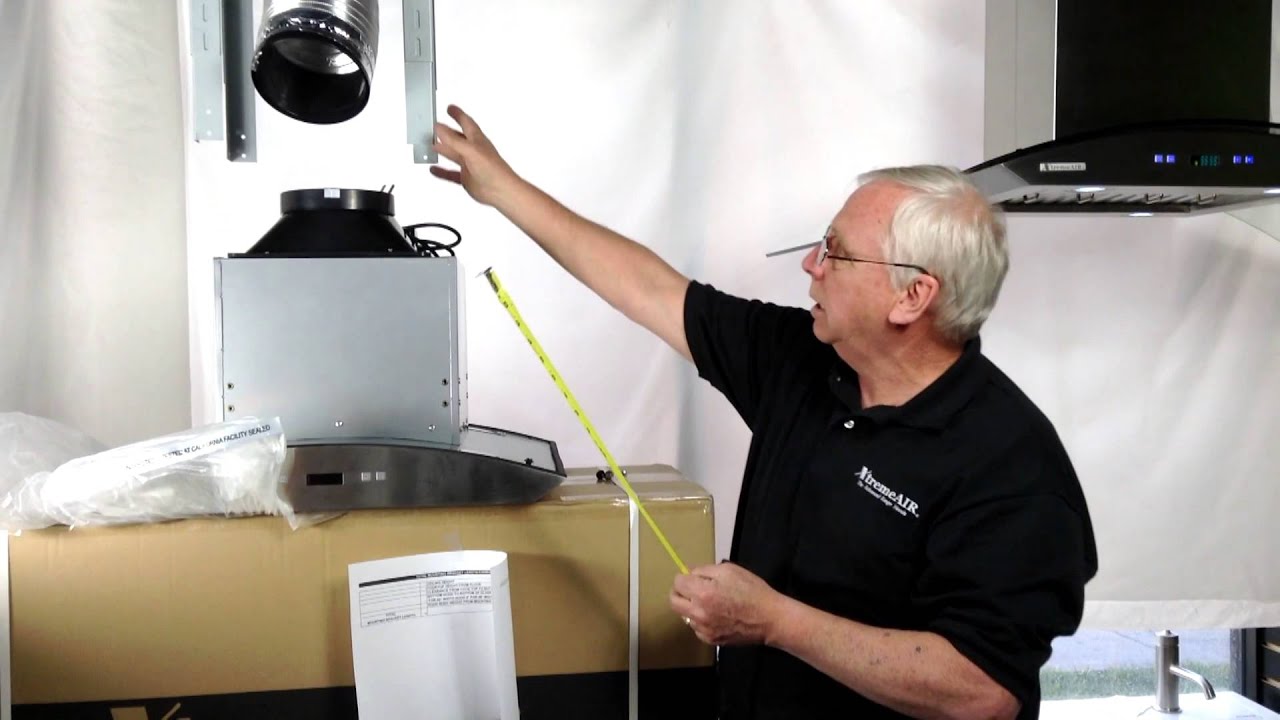
Credit: m.youtube.com
Pre-installation Considerations
Assess the kitchen layout before installing the Proline range hood. Measure the space above the stove to ensure the hood fits properly. Consider ceiling height and any obstructions like cabinets or beams.
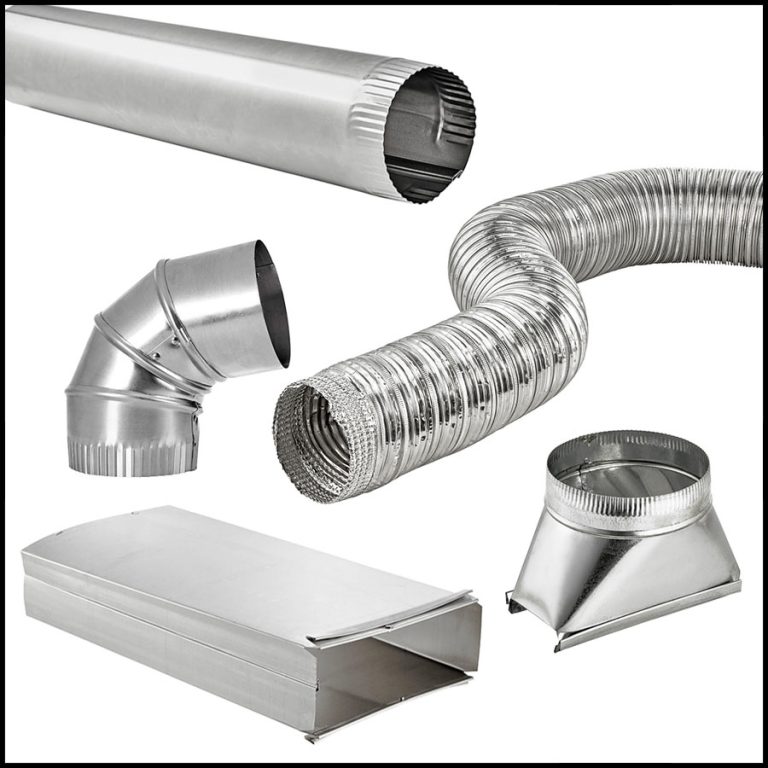
Determine the ductwork necessities for the installation. Check if your kitchen needs ducted or ductless installation. Ducted systems require a clear path to the outside. Ductless systems use filters to clean the air.
Gather all necessary tools and materials before starting. This will make the installation process smoother and more efficient.
Tools And Materials Required
To install a Proline range hood, gather these essential tools:
- Drill
- Screwdriver
- Measuring tape
- Level
- Wire stripper
- Pliers
Next, collect the necessary materials and components:
- Proline range hood
- Vent ducting
- Screws and anchors
- Electrical wire
- Insulation tape
Having the right tools and materials makes the installation easier. Ensure everything is ready before starting.

Credit: www.pinterest.com
Safety Measures Before Installation
Safety is very important during the installation of a Proline Range Hood. Always turn off the power at the main circuit breaker. This helps prevent electrical shocks. Use insulated tools to avoid accidents. Check all wiring connections before starting the installation.
When working at heights, use a sturdy ladder or scaffold. Make sure it is on a flat surface. Always have a second person nearby for assistance. Wear a hard hat to protect your head from falling objects. Keep the work area clean to avoid slips and trips.
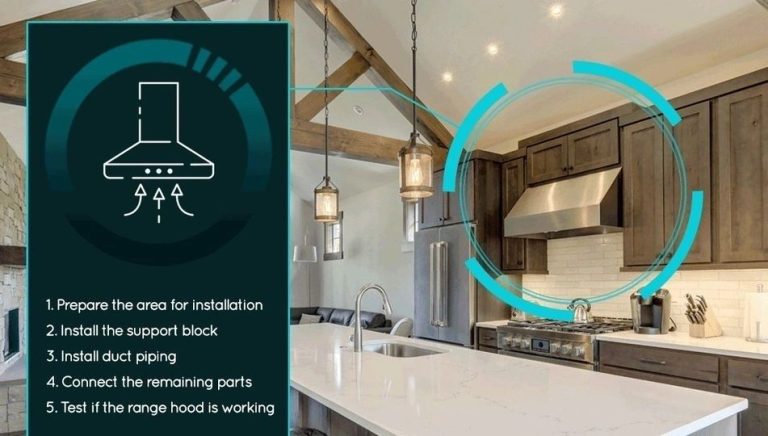
Step-by-step Installation Guide
First, ensure the mounting location is clear. Mark the spots for screws on the wall. Use a level to keep it straight. Secure the range hood firmly in place. Make sure it is stable.
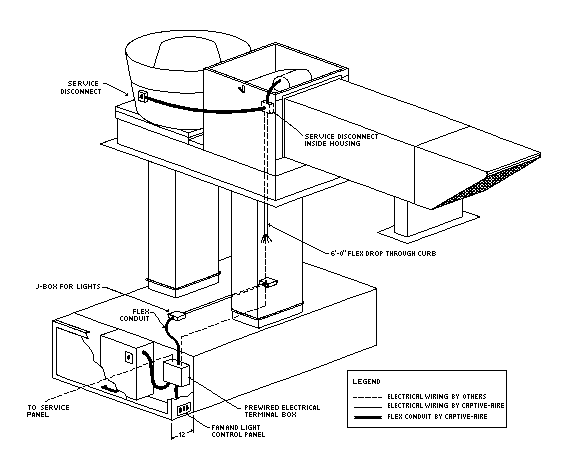
Next, connect the ductwork. Use the proper size duct for best airflow. Seal any joints with duct tape. This step prevents air leaks and improves efficiency.
For electrical connections, turn off the power first. Connect the wires according to the manufacturer’s instructions. Make sure the connections are tight and safe. Finally, restore power to test the hood.
Post-installation Checklist
Check the duct size to ensure proper air flow. A smaller duct can restrict ventilation.
Make sure the fan is working correctly. Turn it on to test for any unusual sounds.
Inspect all connections for leaks. Sealing gaps can improve efficiency and performance.
Verify that the filters are installed properly. Clean or replace them as needed.
Ensure the electrical connections are safe. Check for any exposed wires or loose connections.
Confirm that the range hood is level. An uneven installation can cause noise and inefficiency.
Finally, check the ventilation path. It should be clear of any blockages to maintain airflow.
Maintenance Tips For Longevity
Regular cleaning of your Proline range hood keeps it working well. Use a soft cloth and mild soap. Avoid harsh chemicals that can damage the surface. Check the filters often. Clean or replace them every three months for best results.
Filter replacement is easy. Just remove the old filter and slide in a new one. Always follow the manufacturer’s instructions. This helps maintain proper airflow and efficiency.
Do regular inspections of the hood. Look for any signs of wear or damage. Fix any issues quickly to prevent bigger problems. Keeping your range hood in great shape ensures it lasts longer.

Credit: www.youtube.com
Troubleshooting Common Issues
Noise problems can be frustrating during Proline range hood installation. Start by checking if the hood is installed securely. Loose screws can cause unwanted vibrations. Ensure the fan is working correctly. A dirty fan can create excess noise. Clean the fan blades regularly for better performance.
Addressing inefficiencies is crucial for optimal function. Check the duct size; it should match the hood specifications. Using the wrong duct size can reduce airflow. Ensure all connections are tight and sealed. Gaps can lead to airflow leaks. Regular maintenance helps keep the range hood working efficiently.
Frequently Asked Questions
How Do I Install A Proline Range Hood?
Installing a Proline range hood involves several steps. First, ensure you have all necessary tools and materials. Next, follow the manufacturer’s instructions for mounting. Securely attach the ductwork to ensure proper ventilation. Finally, connect the electrical wiring and test the unit for functionality.
What Tools Are Needed For Installation?
To install a Proline range hood, you will need a drill, screwdriver, level, measuring tape, and duct tape. Additionally, a stud finder can help locate wall studs. Having a helper can also make the installation process smoother and more efficient.
Is Professional Installation Required?
Professional installation is not strictly required for a Proline range hood. However, if you’re unsure about electrical or ductwork connections, hiring a professional is advisable. They can ensure safety and compliance with local building codes, providing peace of mind during your installation.
How Long Does Installation Take?
Typically, the installation of a Proline range hood takes about 2 to 4 hours. This timeframe can vary based on your experience and the complexity of your kitchen layout. Allow extra time for any unexpected challenges or adjustments during the process.
Conclusion
Installing a Proline range hood can elevate your kitchen’s functionality and style. Proper installation ensures optimal ventilation and enhances cooking experiences. Follow the guidelines and take your time to ensure a secure fit. With the right tools and a little patience, you’ll enjoy a cleaner, fresher kitchen in no time.