To replace the range hood light bulb in a Whirlpool, first unplug the unit. Next, remove the bulb by twisting it counterclockwise.
Replacing a range hood light bulb is a simple yet essential task for maintaining visibility while cooking. A well-lit kitchen enhances safety and improves your cooking experience. Over time, bulbs can burn out or dim, making it necessary to replace them promptly.
Knowing how to do this can save you time and money, as you won’t need to call a professional for a minor issue. This guide will walk you through the steps to easily replace the bulb in your Whirlpool range hood. Keep your kitchen bright and functional by following these straightforward instructions.
Introduction To Range Hood Light Bulb Replacement
Replacing a range hood light bulb is essential for proper kitchen lighting. A functional bulb helps you see while cooking. It also enhances safety by illuminating potential hazards.
Signs that indicate a new bulb is needed include:
- Flickering or dim light.
- Burnt-out bulbs that do not light up.
- Bulb color changing to yellow or dull.
Ensuring the light works well keeps your kitchen bright and safe. Regular checks can prevent accidents. A well-lit kitchen makes cooking more enjoyable.
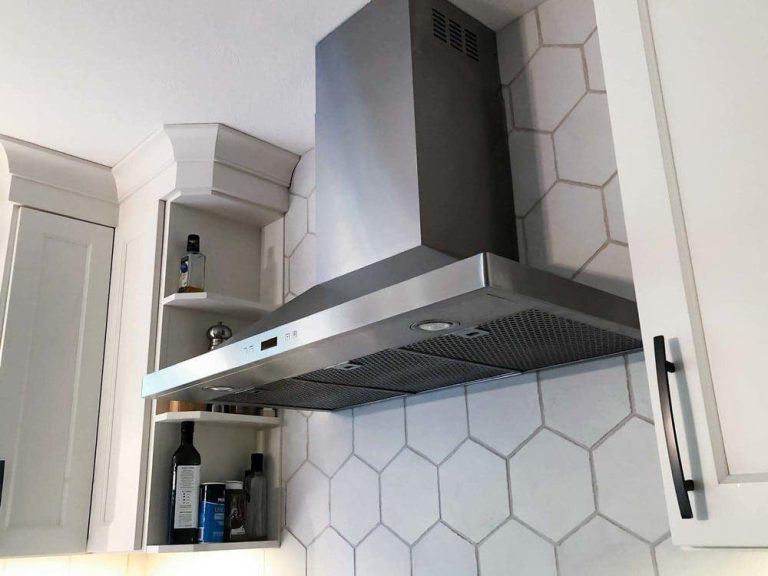
Credit: www.youtube.com
Safety First: Preparing To Replace The Bulb
Safety is important before replacing your range hood light bulb. Start by turning off the power to avoid electric shocks. Locate the circuit breaker box and switch off the appropriate breaker.
Next, gather the necessary tools. You will need a new light bulb, a screwdriver, and a ladder or step stool. Ensure the new bulb matches the old one in size and wattage.
Always wear protective gloves while handling the bulb. This prevents oils from your skin from damaging it. Keep a clean workspace to avoid accidents.
Identifying The Right Bulb For Your Whirlpool Range Hood
To replace the light bulb in your Whirlpool range hood, first check the user manual. This manual has important information about the correct bulb type and specifications. Different models require different bulbs.
Look for details like wattage, base type, and color temperature. Most Whirlpool range hoods use LED or halogen bulbs. Make sure to choose a bulb that fits your model. Using the wrong bulb can cause issues.
Always remember to turn off the power before replacing the bulb. Safety is very important during this process. After replacing the bulb, turn on the power and check if it works properly.
Removing The Old Light Bulb
To access the light compartment, first, turn off the power. This ensures safety while replacing the bulb. Next, remove the cover or lens. You may need to unscrew it gently.
Now, carefully pull out the old light bulb. Hold it firmly, but do not apply too much force. Dispose of the old bulb properly. Be cautious, as broken glass can cause injuries.
After removing the old bulb, check the socket for any debris. Clean it if necessary to ensure a good connection. Insert the new light bulb by aligning it with the socket. Turn it clockwise until it is secure.
Installing The New Range Hood Light Bulb
Always handle the new bulb with care. Avoid touching the glass part directly. This keeps it free from oils and dirt. Use a clean cloth or paper towel instead.
To secure the bulb in place, gently insert it into the socket. Turn it clockwise until it fits snugly. Make sure it’s tightly secured to avoid flickering. If the bulb doesn’t light up, double-check the connection.
Remember to turn off the power before starting any work. This ensures safety while changing the bulb. Following these steps will help keep your range hood shining bright.

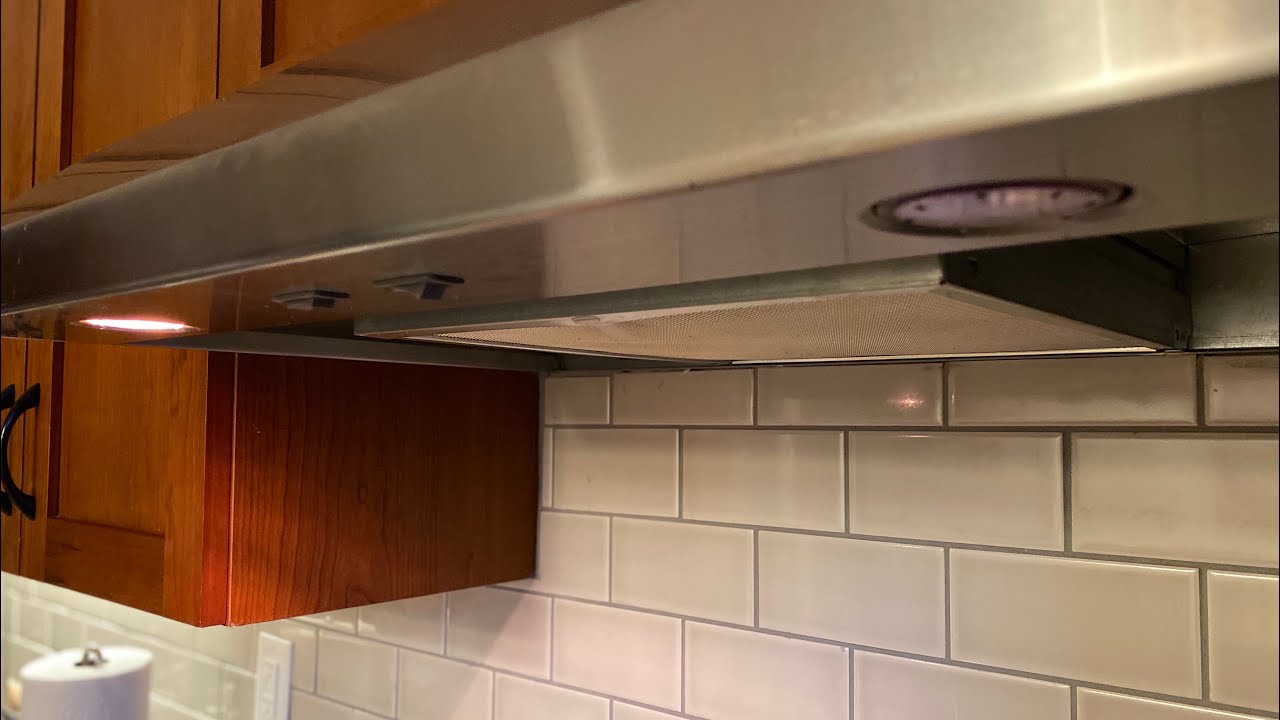
Credit: www.amazon.com
Testing The New Light Bulb
First, turn off the power to the range hood. Use the circuit breaker or unplug the unit. This step ensures safety while working.
Next, replace the old bulb with a new one. Make sure the new bulb matches the wattage and type. Secure it tightly in place.
After replacing the bulb, restore power to the hood. Turn on the circuit breaker or plug it back in. This step is crucial for testing.
Check if the light turns on. If it does, the installation was successful. If not, double-check the connections and bulb type.
Proper functionality ensures safe cooking. Always monitor the bulb’s performance. Replace any burnt-out bulbs promptly for safety.
Maintenance Tips For Longevity
Regularly cleaning the hood and light area helps maintain brightness. Use a damp cloth to wipe surfaces. Avoid harsh chemicals that can damage the finish. Clean light fixtures gently to prevent breakage.
Choosing quality bulbs is essential for longevity. Select bulbs that match the wattage recommended for your range hood. Energy-efficient LED bulbs last longer and save money. Always check for compatibility with your hood model.
Troubleshooting Common Issues
Sometimes, a new bulb may not work. Check if the bulb is securely installed. If it’s loose, tighten it gently.
Test the light switch to ensure it is functioning properly. A faulty switch can cause the light to flicker or dim. Replace the switch if needed.
Check the wiring connections behind the range hood. Damaged wires can cause issues with the light. Ensure all connections are tight and secure.
For flickering lights, consider using a higher wattage bulb. Some bulbs may not provide enough brightness. Ensure the bulb is compatible with your range hood.
Lastly, clean the light fixture. Dust and grime can block light. Regular cleaning can help maintain brightness.
Conclusion: Ensuring Continuous Lighting
Replacing the range hood light bulb is simple. First, ensure the hood is off. Next, remove the cover carefully. Unscrew the old bulb and replace it with a new one. Make sure it fits snugly in place.
Regular maintenance keeps your kitchen bright. Check the bulbs often to avoid darkness. Clean the range hood to ensure proper function. A clean hood helps the bulbs last longer.
Following these steps will ensure success. Keeping track of maintenance is crucial. Always have spare bulbs ready for quick changes.

Credit: partsdr.com
Frequently Asked Questions
How Do I Know When To Replace My Range Hood Bulb?
You should replace your range hood bulb when it flickers or dims. A burned-out bulb will not provide adequate lighting while cooking. Regularly check for any signs of wear or discoloration. This ensures your kitchen remains well-lit and safe during meal preparation.
What Type Of Bulb Is Used In Whirlpool Range Hoods?
Whirlpool range hoods typically use LED or halogen bulbs. Check your specific model’s manual for the exact bulb type. Using the correct bulb ensures optimal performance and longevity. Always opt for high-quality bulbs to enhance visibility and efficiency in your kitchen.
Can I Replace The Range Hood Light Bulb Myself?
Yes, replacing the range hood light bulb is simple and safe. Ensure the hood is turned off and unplugged before starting. Carefully remove the old bulb and replace it with a new one. Following these steps will make the process easy and hassle-free.
How Often Should I Replace The Range Hood Bulb?
It’s recommended to replace the range hood bulb every 1-2 years. Frequent use may require more frequent replacements. Pay attention to changes in brightness or flickering. Regular maintenance keeps your kitchen well-lit and functional during cooking.
Conclusion
Replacing the range hood light bulb in your Whirlpool appliance is a straightforward task. Proper maintenance keeps your kitchen well-lit and safe. Remember to follow the steps carefully for the best results. With a little effort, you can enhance your cooking space’s functionality and appearance.
Enjoy your freshly lit kitchen!