To vent a range hood outside, first, select an appropriate venting kit. Next, create a hole in the wall to connect the ductwork.
Proper ventilation is essential for any kitchen. It helps eliminate smoke, steam, and odors, ensuring a fresh cooking environment. Venting your range hood outside is the most effective method. This process may seem daunting, but with the right tools and guidance, it can be manageable.
A well-ventilated kitchen not only enhances air quality but also protects your home from moisture damage. Understanding how to do this correctly can prevent potential issues down the line. This guide will walk you through the steps needed to successfully vent your range hood outside, providing a clearer, healthier cooking space.
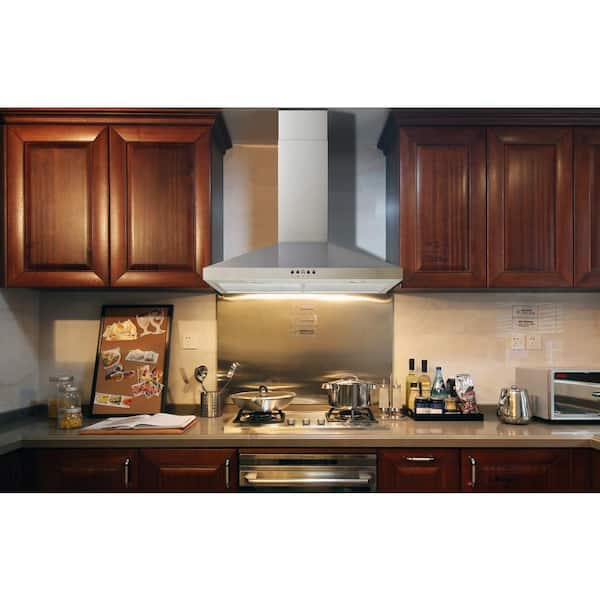
Credit: www.homedepot.com
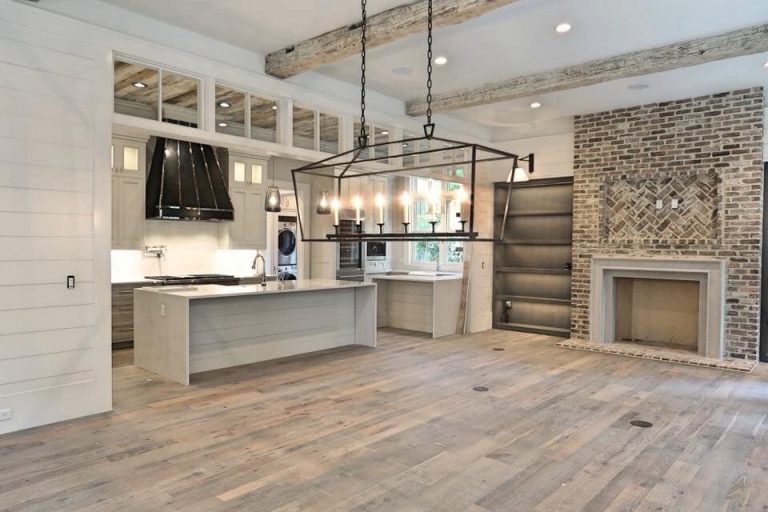
Introduction To Range Hood Venting
Proper ventilation is key for a healthy kitchen. Range hoods help remove smoke, grease, and odors. This keeps the air fresh and clean.
External venting offers many benefits. It prevents moisture buildup, which can cause mold. This method reduces indoor air pollution too.
Another advantage is improved energy efficiency. A well-vented kitchen requires less cooling and heating. External venting also enhances the performance of your range hood.
Safe air circulation protects your family’s health. It keeps your kitchen comfortable while cooking. Investing in proper venting is a smart choice for every home.
Pre-installation Considerations
Check your local building codes before installing a range hood. These codes ensure safety and proper installation. They may dictate the type and size of the hood.
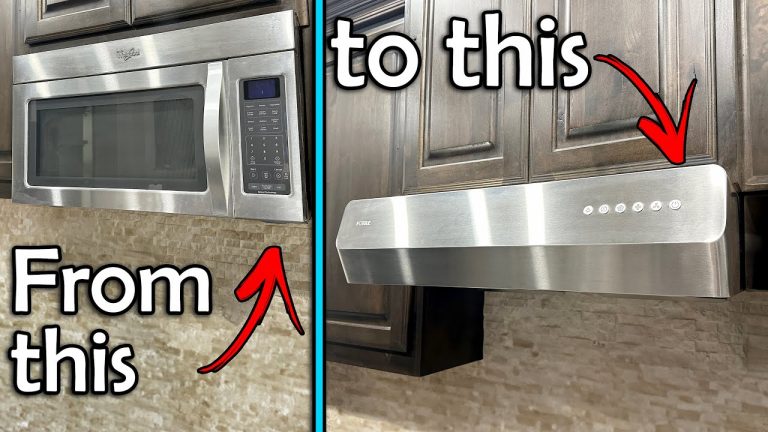
Choose the right range hood for your kitchen. Consider its size, style, and power. A hood should match your stove’s width for best results. Look for a model with a good CFM rating for effective airflow.
Gather all the necessary tools and materials for installation. You will need a drill, screwdrivers, duct tape, and a level. Don’t forget to have safety gear, like gloves and goggles. Having everything ready makes the process easier.
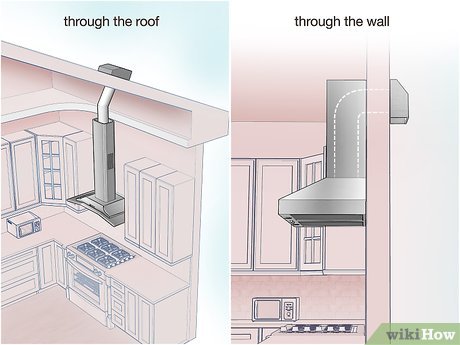
Determining Vent Path
Assessing your kitchen layout is crucial. Identify the location of the range hood. Check the distance to the outside wall. This helps in planning the vent path effectively.
Choosing the right duct route can save time. Measure the length of the duct. Aim for a straight path to reduce bends. Less bends mean better airflow.
| Factor | Considerations |
|---|---|
| Distance | Keep it as short as possible. |
| Obstacles | Avoid beams and other blockages. |
| Material | Use smooth ducting for better airflow. |
Credit: basc.pnnl.gov
Preparation Steps
Before starting, ensure safety precautions are in place. Always wear safety goggles and gloves. Use a dust mask to avoid inhaling debris. Make sure to turn off the power supply to the range hood.
Choose a proper spot for the vent hole. Avoid areas with electric wires or plumbing. Use a stud finder to locate any hidden obstacles. Mark the area clearly for cutting.
Gather the right tools. A drill, saw, and measuring tape are essential. A level will help ensure the vent is straight. Double-check all measurements before cutting.
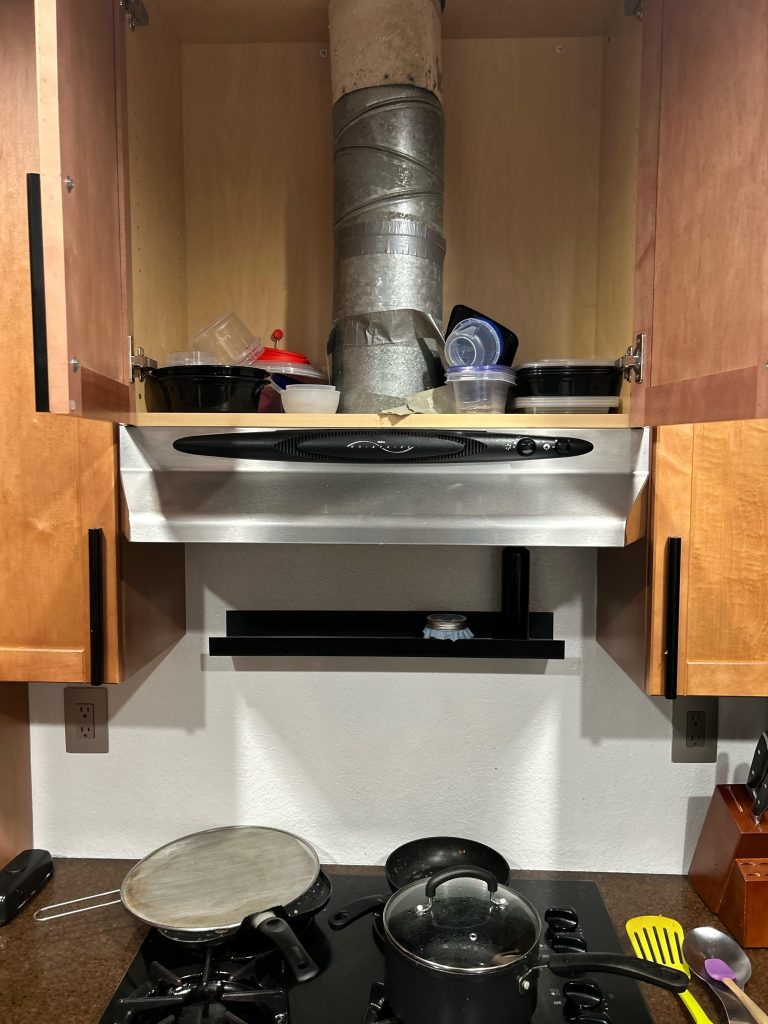
Ductwork Installation
Attaching ductwork to the hood is a key step. Begin by connecting the duct to the range hood. Use metal screws to secure it tightly. Make sure there are no gaps for air to escape.
Securing ductwork through the wall or ceiling is also important. Drill a hole that matches the duct size. Insert the duct and seal it with duct tape. This prevents leaks and improves airflow.
Check for any bends in the ductwork. Bends can reduce the efficiency of the hood. Keep the duct as straight as possible for the best performance.
Always follow local building codes. Proper installation ensures safety and efficiency. A well-vented range hood makes cooking more enjoyable.

Credit: www.wikihow.com
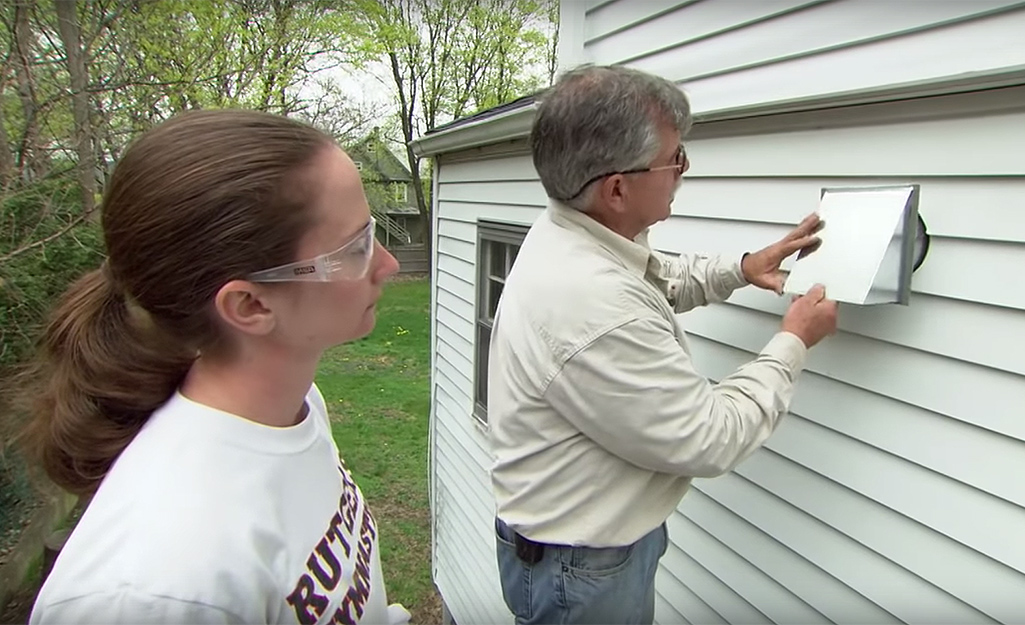
Exterior Vent Cover Fitting
Choosing the right vent cover is essential for your range hood. Look for one that fits your specific needs. The cover should prevent rain and snow from entering. Also, it must allow for proper airflow.
Consider materials like aluminum or stainless steel for durability. These materials resist rust and corrosion. Make sure the cover has a flap that opens easily when air flows. This feature helps to keep out pests.
Weatherproofing the vent is crucial. Sealing gaps can prevent drafts and moisture. Use weatherstripping or caulk around the edges. Check regularly to ensure everything remains in good condition.
Finalizing The Installation
Sealing the ductwork is very important for a range hood. Use high-quality duct tape to secure all joints. This ensures no air leaks occur. Proper sealing improves the hood’s efficiency.
Check for any gaps in the ducting. A tight seal prevents unwanted odors and smoke from entering your home. After sealing, test the range hood vent.
Turn on the range hood and feel for airflow. A strong airflow indicates a good installation. If airflow is weak, check all connections again.
Make sure the fan operates quietly. No strange noises should come from the unit. Proper installation makes cooking a more pleasant experience.
Maintenance Tips
Creating a regular cleaning schedule is essential for maintaining your range hood. Clean the filters every month to keep them efficient. A simple soap and water solution works well. For deeper cleaning, use a degreaser. Check the exterior for dirt and grease, and wipe it down regularly.
Addressing common issues helps ensure proper function. If the fan is noisy, check for loose screws. A weak airflow may indicate a clogged filter. Replace filters every six months for optimal performance. If the light doesn’t work, try changing the bulb first.
Always refer to your manufacturer’s instructions for specific maintenance tips. Keeping your range hood clean enhances its lifespan and efficiency.
Frequently Asked Questions
How Do I Vent A Range Hood Outside?
Venting a range hood outside involves several steps. First, choose the right ducting material. Then, measure and cut the duct to the appropriate length. Next, install a wall cap outside for proper air exit. Finally, connect the duct to the range hood securely, ensuring no leaks.
What Materials Do I Need For Venting?
You will need ductwork, a wall cap, and clamps. Choose metal ducting for durability and efficiency. You may also need a drill, screws, and possibly insulation. Ensure all components are compatible with your range hood specifications for optimal performance.
Can I Vent A Range Hood Through A Wall?
Yes, venting through a wall is a common method. Ensure the wall is exterior and suitable for duct installation. Use a wall cap to prevent pests from entering. This method helps effectively expel cooking odors and moisture outside your home.
Is Ductless Venting An Option?
Ductless venting is an option but less effective. It uses a filter to recirculate air back into the kitchen. While it eliminates some odors, it won’t expel heat or moisture. Consider your cooking habits when deciding between ductless and ducted systems.
Conclusion
Properly venting a range hood outside is essential for a healthier kitchen. It improves air quality and reduces cooking odors. Following the steps outlined in this guide ensures effective installation. Take your time and prioritize safety. Enjoy a cleaner, more comfortable cooking environment with a well-vented range hood.
Happy cooking!